
Royal Icing Recipe with Meringue Powder

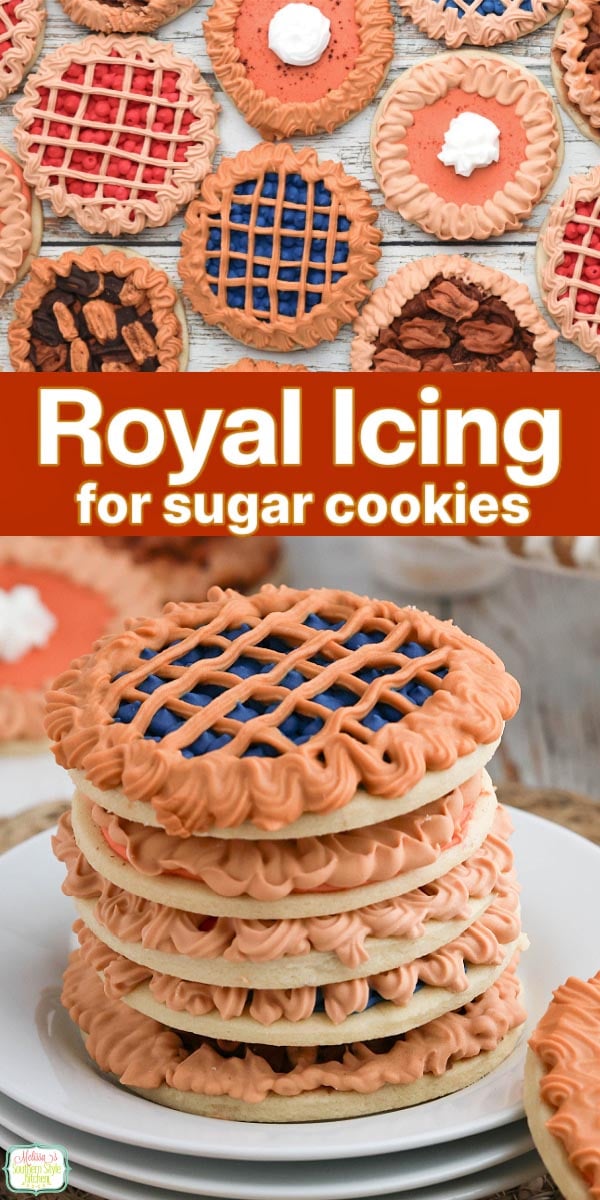
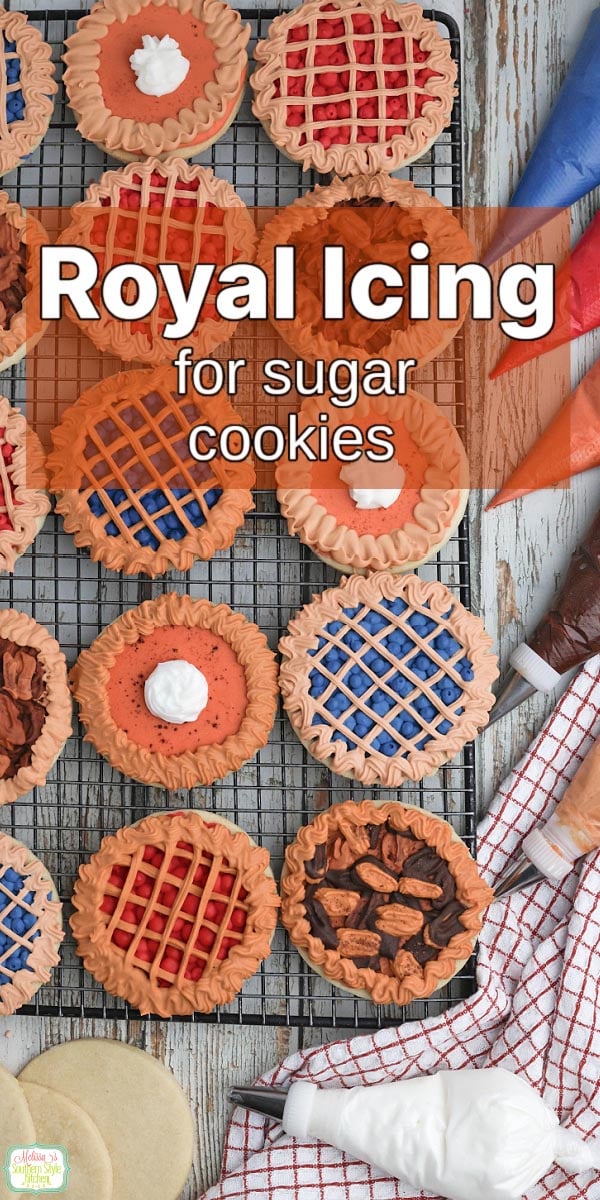
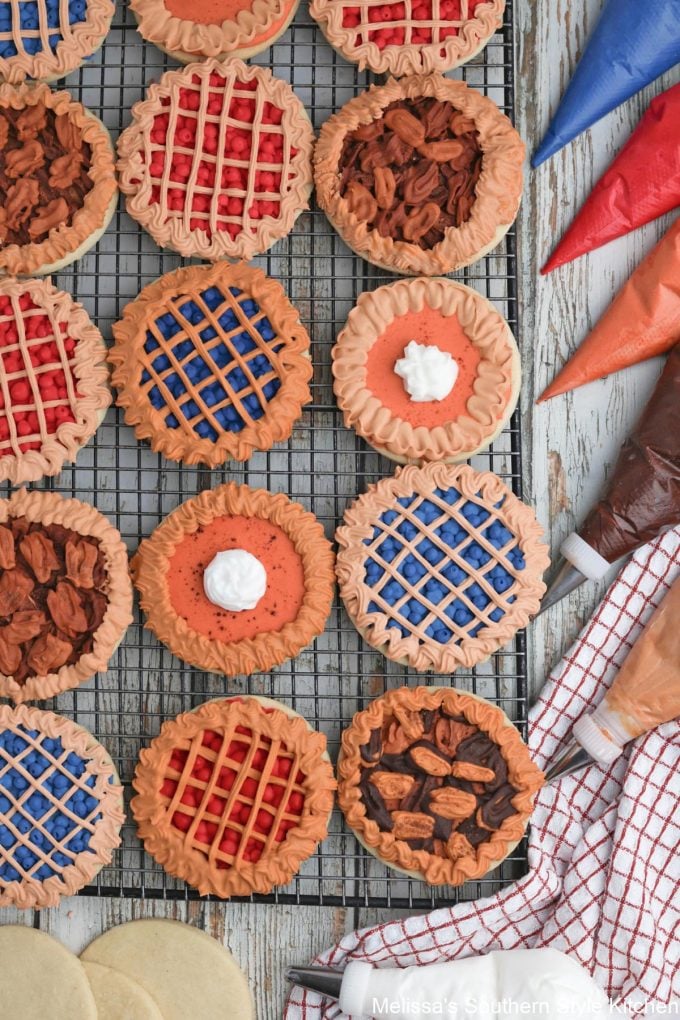
If you’re ready to turn a batch of homemade sugar cookies into something extra special, this Royal Icing Recipe with Meringue Powder is just the ticket. It’s smooth, easy to work with, and dries beautifully for decorating cookies with all those pretty colors and details. Made without raw egg whites, this homemade royal icing is a tried-and-true favorite for holiday cookies, birthdays, and any time you feel like getting a little creative in the kitchen.
Royal Icing Recipe FAQs
What Does Meringue Powder Do in Royal Icing?
Meringue powder gives royal icing its structure and helps it dry firm, making it ideal for decorating sugar cookies. It also provides stability for piping and flooding while eliminating the need for fresh or raw egg whites. It’s an easy, convenient way to get that classic royal icing consistency every time.
Does royal icing dry hard?
Yes. This royal icing dries firm and hard, making it ideal for decorating sugar cookies that need to be stacked, packaged, or transported. The small amount of corn syrup helps give it a smoother, less brittle finish.
How long does royal icing take to dry?
The surface will begin to set fairly quickly, but allow the decorated cookies to dry completely before stacking or packaging. Drying time will vary depending on the thickness of the icing and humidity.
Can I use this royal icing for flooding cookies?
Yes. The consistency can be adjusted by adding small amounts of water until it’s thin enough for flooding while still holding its shape for detailed piping.
Does royal icing with meringue powder contain raw eggs?
No. This recipe uses meringue powder instead of raw fresh egg whites (or liquid egg whites and lemon juice) like a traditional royal icing, making it not only a convenient option but a safer option for cookie decorating.
Can I make different colors with this royal icing?
Absolutely, it can be made in a wide variety of different colors. Divide the icing into bowls and tint each portion with gel food coloring. For the whitest icing, use clear vanilla, almond extract or a clear butter emulsion.
Easy Royal Icing for Sugar Cookies Recipe
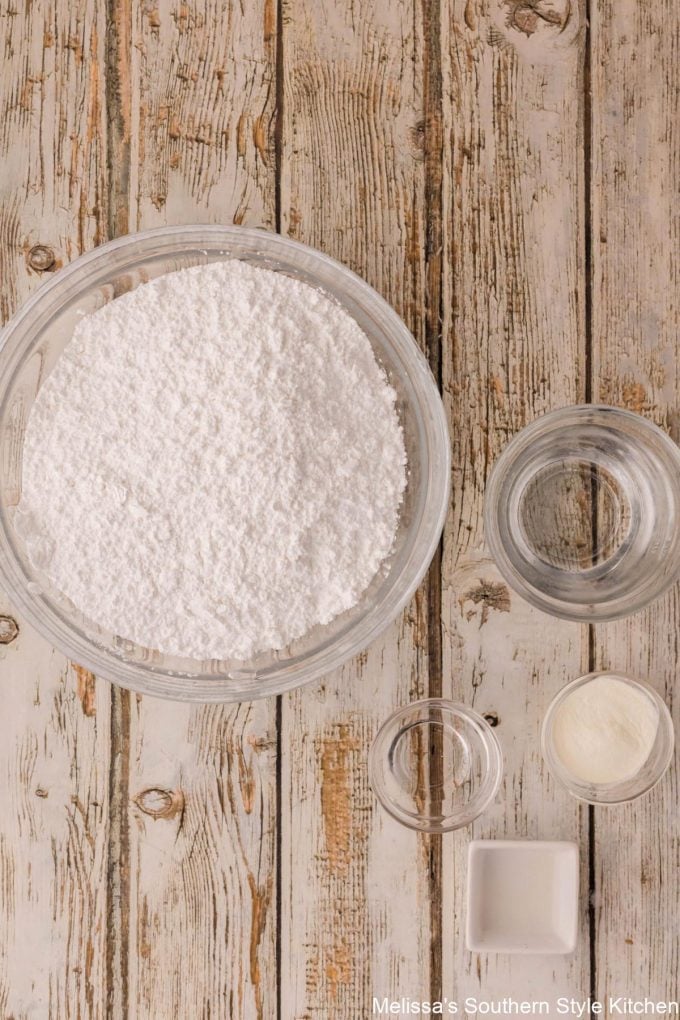
Checkout this quick list of ingredients you’ll need to make Royal Icing: (Scroll down for the full recipe card and quantities found at the end of this post.)
- Meringue Powder – Meringue powder gives royal icing structure and allows it to dry hard. Available at any baking supply store, grocery stores, Amazon or where cake decorating supplies are sold.
- Water – Warm tap water thins the icing mixture.
- Corn Syrup – A small amount of corn syrup for a smooth finish.
- Flavoring – Vanilla extract or or butter emulsion adds flavor. Use clear for pure white icing.
- Type of Food Coloring – Assorted gel colors or liquid food coloring to decorate the finished product and tint the icing. Gel colors are preferred, to avoid adding extra moisture resulting in a too-thin icing.
- Sugar – Powdered sugar (confectioner’s sugar) for sweetness.
How to Make Royal Icing Recipe with Meringue Powder
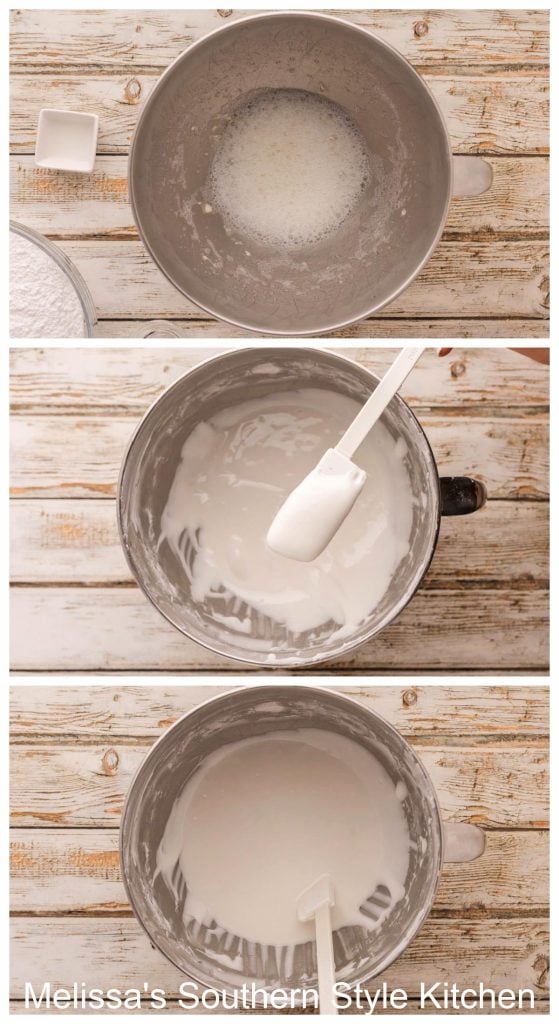
- Whip Meringue Powder – Whip the meringue powder, warm water, vanilla extract and Karo syrup. Mix on high speed until mixture is frothy.
- Add Confectioners’ Sugar – Gradually add powdered sugar and one tablespoon of additional warm water one at a time. (Don’t be tempted to add too much water, you can add more later if you need to thin the icing out).
- Separate and Tint – Separate desired amounts of icing into small bowls and tint with food color of choice.
- Thicker Icing – If elements of the cookie design need a stiff royal icing or very thick consistency, add additional meringue powder to the individual bowls. This is how you can achieve the desired consistency, look and thickness for that color.
- Thinner Icing – Add a few drops of water until it reaches the proper consistency. Think little water additions, not large amounts.
How to Decorate with Royal Icing Recipe
- Know your design and how many colors you’ll need prior to dividing the icing for tinting. Mix colors in a small bowl adding small amounts of food coloring at a time until you achieve the desired shade you want. You can cover the bowl with a damp paper towel or plastic wrap to keep it from drying out.
- Add about ½ cup of tinted icing to a pastry bag and tie off or use bands to secure the opening. Do not overfill the bag!
- Snip a small hole in the tip of the pastry bag OR before filling fit with a small round pastry tip to outline your cookie for sharp edges, followed by flooding the inside of the outline. Piping around the cookie borders to make an outline first will hold in the thinner icing and let you make a flat, smooth top
- Allow time between steps for drying to create definition working incrementally depending on the intricate designs you’re creating.
- Add sprinkles or embellishments while the royal icing is still wet, and let icing set and dry completely before storing.
Kitchen Equipment to Make Royal Icing for Sugar Cookies
- Stand mixer or hand mixer fitted with the whisk attachment for the meringue and paddle attachment to incorporate the sugar.
- Measuring cups and spoons.
- Small bowls.
- Pastry bags and round tips.
- Small knife (for spreading icing)
Recipe Variations, Tips and Substitutions
- Flavorings – You can use vanilla extract, lemon extract, almond extract, butter extract or any flavoring that you enjoy.
- Don’t Overbeat – When adding the powdered sugar make sure the mixer is on low speed. When adding the powdered sugar make sure the mixer is on medium-low speed. You don’t want to beat the sugar too vigorously as it may add too much air and create bubbles in the icing.
- Pastry Bags – I use tipless pastry bags for outlining and flooding. The consistency of the icing should not be too thin as this will run off the edges of your cookie. Use a clean piping bag for each color.
- Spreading the Icing – You can spread this icing onto the surface of a cookie and skip the pastry bag, especially nice for beginners. A thicker consistency works best for spreading. You can also use to embellish the top of cakes when your designs needs a sharp edge. Keep in mind that unlike a traditional cake icing like a classic soft buttercream, it will dry hard.
- Adjust the Icing Thickness – For thicker royal icing use more meringue powder and less water. For thinner frosting use more water. It depends on your design as to how thick it needs to be.
- Allow Ample Time for the Cookies to Dry – Royal icing can take several hours to dry depending on the thickness. Place on parchment lined baking sheets and allow to air dry overnight, although the amount of time can vary. You can pop them into the refrigerator to speed up the drying process
Storage and Leftovers
- Make-Ahead Tip – Store royal icing in an airtight container at room temperature for up to two weeks. Cover surface with plastic wrap then pop the lid on top to keep it airtight. Before reusing, whip using a an electric mixer fitted with the paddle attachment on low speed, just until it’s back to the correct consistency.
- Leftovers – Store decorated cookies in an airtight container with a tight fitting lid at room temperature for up to 2 weeks for freshness.
- Freezer – For longer storage, you can freeze decorated cookies for up to 3 months.
- Gifting – You can also individually bag and seal cookies in a cello bag to maintain freshness.
- Freezer – Store leftover icing in a freezer safe container for up to 2 months. Thaw in the fridge then bring to room temperature prior to using.
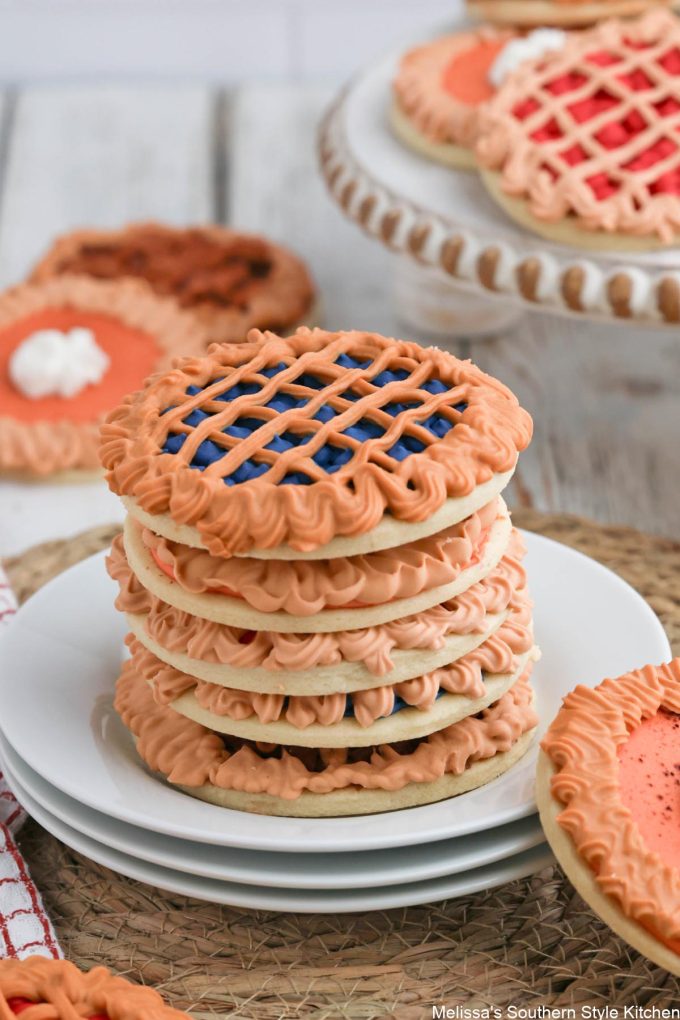
Even More Delicious Cookie Recipes to Make
- Gingerbread Cookies are edible art for the whole family.
- Kitchen Sink Cookies are filled to the brim with goodies.
- Snowball Cookies have one thousand names and each one spells delicious.
- Buttery homemade Pecan Cookies.
- Cut Out Cream Cheese Sugar Cookies melt in your mouth!
- Chocolate Dipped Pecan Lace Cookies are delicately delicious.
- Cranberry Walnut Chocolate Chip Cookies feature fresh cranberries.
- See more fantastic recipes in the cookies and bars recipe section here.
- See this resource for Wilton tutorials and how-to for piping.
Thanks for visiting come back soon!
Disclosure ~ If a purchase is made using one of the affiliate links on this website we may earn a small commission at no additional cost to you. Thank you!

Royal Icing Recipe with Meringue Powder
Ingredients
- 3 Tbsp meringue powder i.e. Satin ice or similar
- 1/2 cup warm tap water divided use
- 1 tsp vanilla extract or butter emulsion use clear for pure white icing
- 1/2 tsp light corn syrup i.e. Karo or similar
- assorted food coloring
- 4 cups powdered sugar (confectioner's sugar)
Instructions
- In the large bowl of a stand mixer fitted with the whisk attachment, add the meringue powder and about 3 tablespoons of warm water. Add vanilla extract and Karo syrup. Mix on high speed until mixture is frothy. (about 1-2 min.)
- Switch to the paddle attachment. Gradually add powdered sugar and one tablespoon of additional warm water one at a time on medium speed. (Don't add too much water, you can add more water later if you need to thin the icing out).
- Continue mixing on a low speed until the icing can drip off of the spoon and is smooth. If it's too thin, add more powdered sugar and if it's too thick, add a little more water.
- Separate desired amounts of icing into small bowls and tint with food color of choice adding as much color as you desire.
- If elements of the cookie design need a very thick consistency, add additional meringue powder to the individual bowls to achieve the desired look and thickness for that color.
- Add about ½ cup of tinted icing to a pastry bag and tie off or use bands to secure the opening. Do not overfill the bag!
- Snip a small hole in the tip of the pastry bag OR before filling fit with a small round pastry tip to outline your cookie, followed by flooding the inside of the outline.
- Allow time between steps for drying to create definition working incrementally depending on how involved the design.
- Add sprinkles or embellishments while the royal icing is still wet, and let dry completely before storing.
- Chocolate Royal Icing Cocoa Powder – You can use cocoa powder to tint the frosting in various shades of brown. Unsweetened cocoa powder or Dutch process cocoa powder for a deeper brown color and give the icing a chocolate flavor. Do this when you separate out the icing for tinting incorporating the sifted cocoa powder towards the end of the mixing process, after the meringue powder and powdered sugar have already whipped up to stiff peaks, to minimize the impact of the cocoa's natural oils on the whipping process. You may need to add small amounts of water to thin.
Notes
- Flavorings – You can use vanilla extract, lemon extract, almond extract, butter extract or any flavoring that you enjoy.
- Don’t Overbeat – When adding the powdered sugar make sure the mixer is on medium-low speed. You don’t want to beat the sugar too vigorously as it may add too much air and create bubbles in the icing.
- Pastry Bags – I use tipless pastry bags for outlining and flooding. You can also use a small tip, if you prefer. The consistency of the icing should not be too thin as this will run off the edges of your cookie. Use a clean piping bag for each color.
- Spreading the Icing – You can spread this icing onto the surface of a cookie and skip the pastry bag, especially helpful for beginners. A thicker consistency works best for spreading. You can also use to embellish the top of cakes when your designs needs a sharp edge. Keep in mind that unlike a traditional cake icing like a classic soft buttercream, it will dry hard.
- Adjust the Icing Thickness – For thicker royal icing use more meringue powder and less water. For thinner frosting use more water. It depends on your design as to how thick it needs to be.
- Allow Ample Time for the Cookies to Dry – Royal icing can take several hours to dry depending on the thickness. Place on parchment lined baking sheets and allow to air dry overnight, although the amount of time can vary. You can pop them into the refrigerator to speed up the drying process.
- See more tips, tricks and faqs in the body of the post.