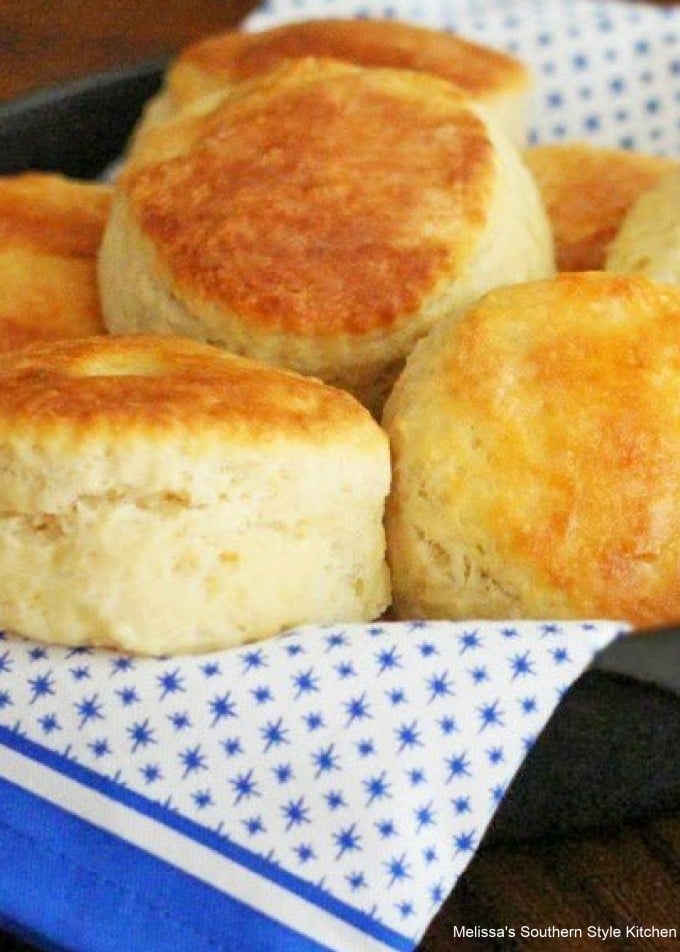
Angel Biscuits


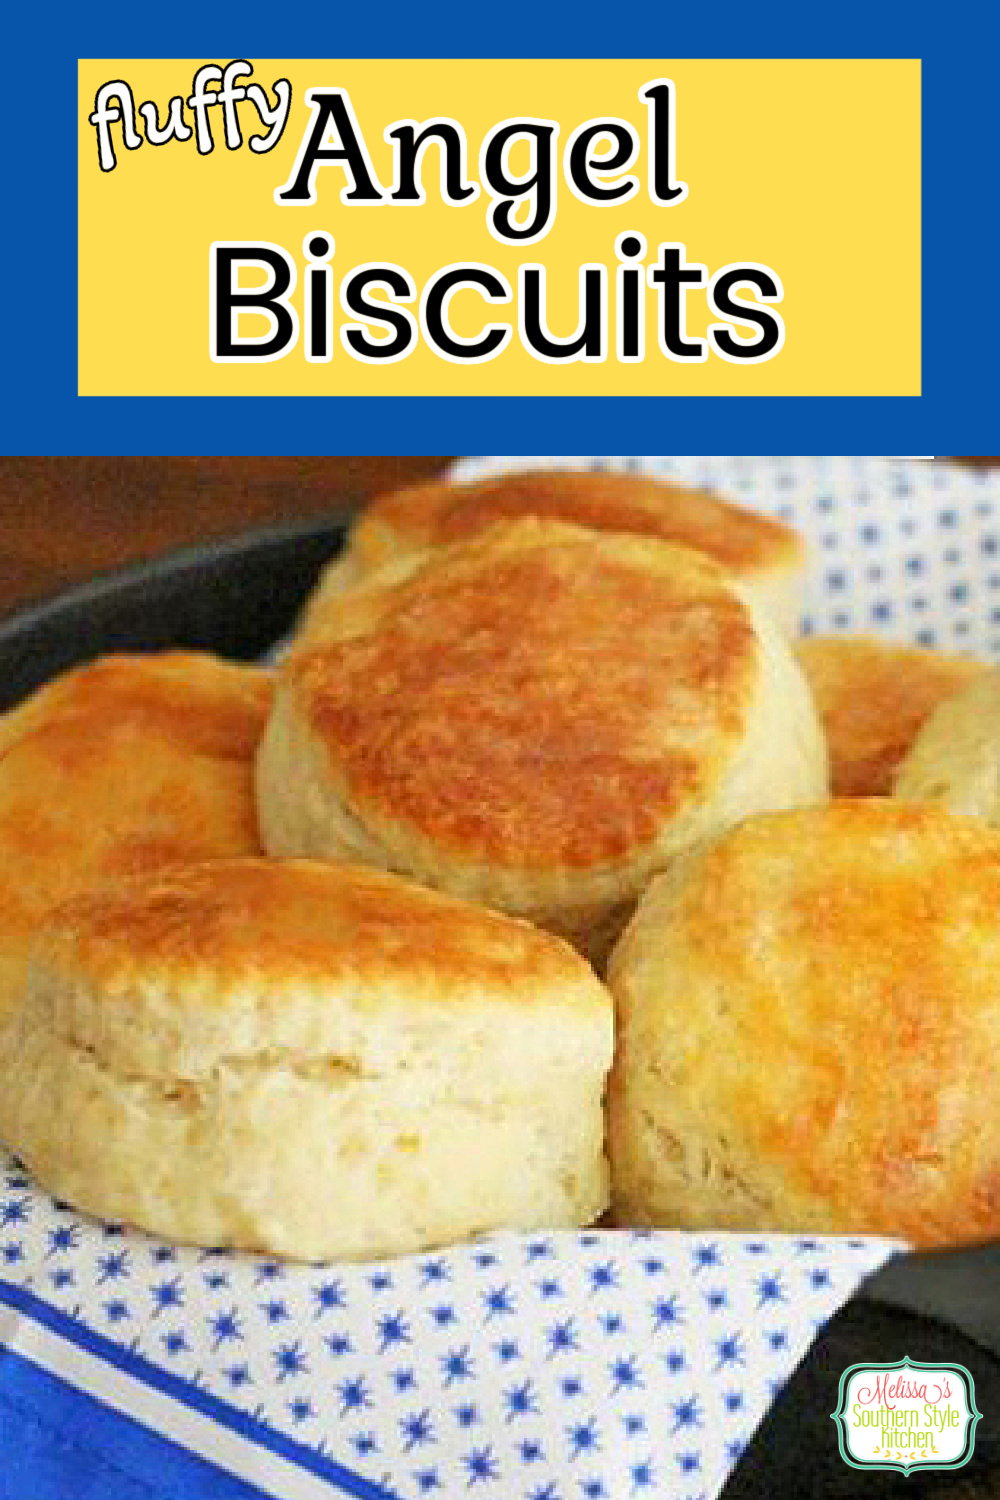

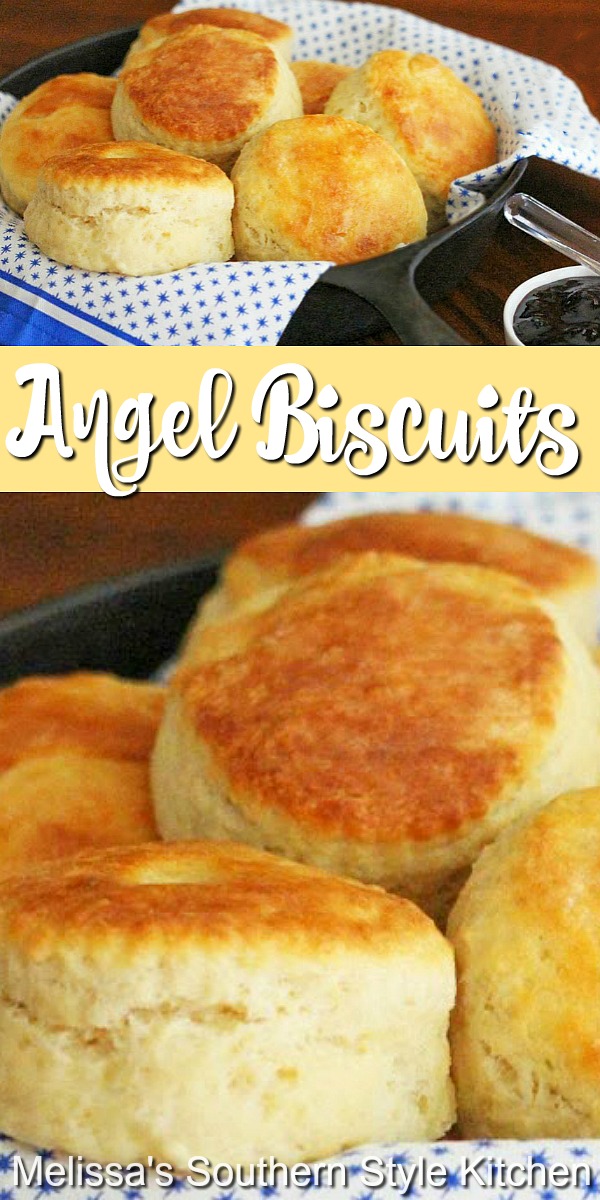
This light and fluffy Southern Angel Biscuits recipe features a flavor that’s a cross between a homemade yeast roll and a buttermilk biscuit. Slather them with butter and jam or serve them as the bread option at any meal.

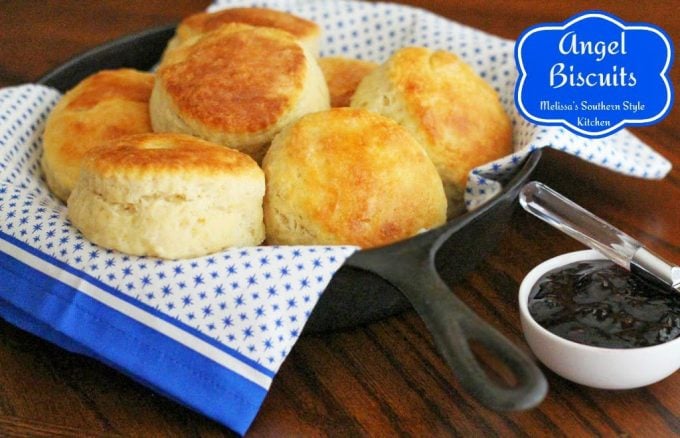
How to Serve Angel Biscuits
You can serve these biscuits stuffed with Christmas ham or fried chicken, a slice of tomato, butter and jelly, eggs and bacon, turn them into sausage biscuits or smother them with sausage gravy for breakfast. The flavor is like a bite of heaven making them perfect for serving as the house bread at any meal.
Ingredients to Make Angel Biscuits Recipe
Angel biscuits have been the rage in Southern kitchens for decades. While most often we’re known for making classic Southern Buttermilk Biscuits, these angel biscuits are special. They’re delicious with a slice of ham, a drizzle of honey, a generous pat of butter or a slathering of homemade jam. They can be served at any meal. They practically are a meal. Ingredients you’ll need to make Southern Angel Biscuits: (Scroll down for full printable recipe card.)
- Flour – All-purpose flour forms the base of the biscuit dough.
- Yeast – Two (1/4 oz each) packets of active dry yeast. That’s the equivalent of 2 1/4 tsp per packet. This gives lift to the dough.
- Liquids – Warm water [110°F] to develop and bloom the yeast plus buttermilk for moisture. l
- Sugar – Granulated sugar gives just a hint of sweetness.
- Additional Leavening – Baking powder, baking soda and salt complements the yeast and texture of the biscuit dough.
- Fats – Cold salted or unsalted butter plus solid vegetable shortening preferably butter flavored adds richness to the dough. You’ll also need melted butter to brush the tops.
How to Make the BEST Southern Angel Biscuits Recipe
They were dubbed Angel Biscuits due to the fact that the recipe uses three different leavening agents. In them, yeast, baking powder and baking soda are used in the flour to make the dough. This trio results in a tender biscuit that’s as light and airy as “angels wings.” They’re irresistible!
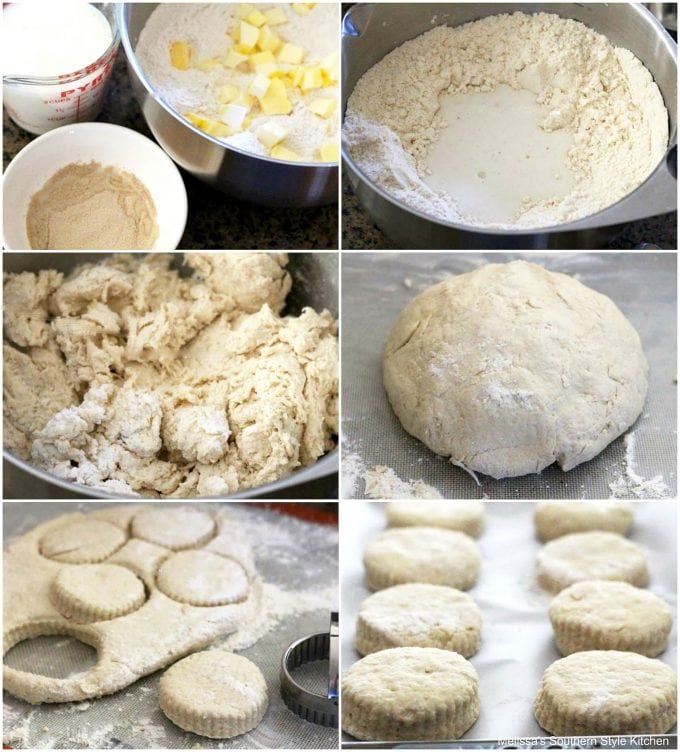
- Bloom Yeast – Sprinkle both packets of dry yeast over warm water. Set aside for 5 minutes.
- Sift Dry Ingredients – Use a whisk to sift together flour, sugar, baking powder, soda and salt in a large mixing bowl.
- Butter and Shortening – Using a pastry blender cut the butter and shortening into the flour mixture until it resembles cornmeal.
- Add Buttermilk – After the yeast has become creamy and “bloomed” add to the warm buttermilk and stir until combined.
- Combine – Make a well in the center of the dough mixture and add the buttermilk-yeast mixture. Gradually work the liquid into the dry ingredients until combined. The dough won’t be completely smooth.
- Knead the Biscuit Dough – Turn the dough out onto a lightly floured non-stick surface and gently knead just until it comes together and appears smooth.
- Roll the Dough and Cut into Rounds – Using a floured rolling pin roll the dough to 1/2 inch thickness. Use a 2-inch biscuit cutter dipped in flour to cut into rounds then place onto a parchment paper lined sheet pan.
- Let Rise – Cover with a damp cloth. Allow to rise in a draft free place for 1 hour.
- Oven – Brush with butter and bake per the recipe until golden brown.
Tips for Making Angel Biscuits
- Kitchen Equipment You’ll Need: Large bowl, small bowl, measuring cups and measuring spoons, pastry blender (pastry cutter), large baking sheets, rolling pin, 2-inch biscuit cutter or 3-inch biscuit cutter and pastry brush.
- Cast Iron Skillet: You may opt to bake these biscuits in a cast iron skillet.
- Use Active Dry Yeast: Please note, different types of yeast perform differently. This recipe uses active dry yeast. This is a longer acting yeast as opposed to a rapid rise or instant yeast. The type of yeast directly affects the rise time required for making angel biscuits.
- Use Fresh Yeast: It bears repeating that you should always check the packaging and make sure the yeast is fresh. If it doesn’t bloom, throw it out and start again.
- Use All Purpose Flour: Can I use self rising flour for making biscuits? Short answer is yes you can, in general. Please note that this recipe uses all purpose flour with the addition of the proper amounts of leavening for making the best angel biscuits.
- Make-Ahead Tip: This type of biscuit dough is very forgiving. You can prepare it one day in advance then cover it and place the bowl into the refrigerator to rise overnight. This is not only a time saving technique, but it also allows the flavor of the dough to intensify.
- How Long Will They Last? You can also prepare the angel biscuit dough and divide it into smaller portions to bake fresh when needed. Store chilled in the refrigerator for up to one week.
Recipe Variations
- Shape: There are slight variations in how homemade angel biscuits are formed. Some in my family, insist these biscuits be dipped in butter, then folded over and placed side by side with another folded biscuit to form the shape of angels wings. Others make them into squares or cut into rounds as I do for this recipe. Regardless of the shape, the flavor is out of this world.
- Solid Vegetable Shortening: The combination of butter and shortening is how I was taught to make angel biscuits. If you have an aversion to baking with shortening, you could use coconut oil or all butter, instead. It will change the texture of the biscuits and they may spread more.
- Homemade Buttermilk Substitutes: You can make your own buttermilk if you don’t have any on hand. To do so, to every one cup of whole milk add 1 tablespoon of white vinegar or lemon juice then let stand for 5-10 minutes. Stir then continue with the recipe.
Storage and Leftovers
- Leftovers: Store leftover Angel Biscuits at in an airtight container chilled in the refrigerator for up to 3 days or at room temperature for up to 2 days.
- Storing Unbaked Angel Biscuit Dough: Store the unbaked biscuit dough covered in the refrigerator for up to one week. When baking angel biscuits in small batches, remove the desired amount of dough from the bowl the cut or roll into rounds. Allow the biscuits to rise as directed in the recipe prior to baking.
- Reheating: Reheat in single servings in the microwave.
- Freezer: You can freeze baked angle Biscuits for up to 3 months. Thaw in the fridge and reheat just before serving.
More Southern Biscuit Recipes to Make
Homemade biscuits aren’t only limited to breakfast or brunch. They come with a variety of mix-ins and variations in flavors including bacon, cheese, sausage and beyond. More homemade biscuit recipes you may like to make:
- Cheddar Chive Potato Biscuits are a savory biscuit you can serve at any time of day.
- Easy Cream Biscuits recipe only requires three ingredients to make.
- Bacon Egg and Cheese Biscuit Braid is a delicious start to any day.
- My recipe for Fluffy Southern Buttermilk Biscuits is a fan favorite!
- Honey Butter Biscuits are buttery and sweet.
- Thimble Biscuits can be filled with any flavor of jam that you like.
- Ham and Cheese Biscuits are insanely delicious.
- Traditional Cathead Biscuits from Deep South Dish.
Thanks for visiting come back soon!
Disclosure ~ If a purchase is made using one of the affiliate links on this website we may earn a small commission at no additional cost to you. Thank you!
Helpful Kitchen Items:
Angel Biscuits
Ingredients
- 2 (1/4 oz each) packets active dry yeast (2 1/4 tsp per packet)
- 1/4 cup warm water [110°F]
- 5 cups all-purpose flour plus additional for kneading
- 1/3 cup granulated sugar
- 2 tsp baking powder
- 1 tsp baking soda
- 2 tsp salt
- 3/4 cup chilled butter cubed
- 1/2 cup chilled solid vegetable shortening prefer butter flavored
- 2 cups buttermilk lukewarm
- 2-4 Tbsp butter melted to brush the tops
Instructions
- Dough: Sprinkle both packets of dry yeast over warm water. Set aside for 5 minutes.
- In a medium size bowl use a whisk to sift together flour, sugar, baking powder, soda and salt in a large mixing bowl.
- Using a pastry blender or food processor cut the butter and vegetable shortening into the dry ingredients until it resembles cornmeal.
- After the yeast has become creamy and "bloomed" add to the warm buttermilk and gently stir until combined.
- Make a well in the center of the dough and add the buttermilk-yeast mixture.
- Gradually work the liquid into the dry ingredients until combined. The dough won’t be completely smooth.
- Turn the dough out onto a lightly floured surface. Begin to work the dough turning and gently kneading just until it comes together and appears smooth.
- At this stage you can divide the dough in half. Place half into a buttered bowl and lay a damp towel on top and refrigerate then store for up to 1 week in the refrigerator.
- To Bake: Using a floured rolling pin roll the dough to 1/2 inch thickness. Use a 2-inch biscuit cutter or 3-inch biscuit cutter dipped in flour to cut into rounds, reshaping the dough as needed. Do not twist the biscuit cutter use an up and down motion.
- Place onto a parchment paper lined or lightly greased baking sheet then cover with a damp cloth. Allow to rise in a draft free place for 1 hour. [See Cook's Note]
- Melt remaining 2-4 Tbsp of butter, and brush the tops just before baking.
- Preheat the oven to 400°F and bake for 13-15 minutes until the tops are golden brown and cooked through.
- Brush tops again with melted butter before serving.
Notes
- Rapid Rise Yeast: If using Rapid Rise yeast, 1 hour rise time is sufficient.
- Active Dry Yeast: If using plain active dry yeast [long acting] allow the biscuits to rise for 1 1/2 hours.
- Solid Vegetable Shortening: The combination of butter and shortening is how I was taught to make angel biscuits. If you have an aversion to baking with shortening, you could use coconut oil or all butter, instead. It will change the texture of the biscuits and they may spread more.
- Homemade Buttermilk Substitutes: You can make your own buttermilk if you don’t have any on hand. To do so, to every one cup of whole milk add 1 tablespoon of white vinegar or lemon juice then let stand for 5-10 minutes. Stir then continue with the recipe.
- Shape: There are slight variations in how homemade angel biscuits are formed. Some in my family, insist these biscuits be dipped in butter, then folded over and placed side by side with another folded biscuit to form the shape of angels wings. Others make them into squares or cut into rounds as I do for this recipe. Regardless of the shape, the flavor is out of this world.
Tried several different biscuit recipes lately, they were each so so. Saw yours today, decided to try. I made my husband a very happy man. YOU made my husband a very happy man. Thank you Melissa. (When husband’s happy, we’re all happy!) Thank you again! Great recipe!!!
Hi, Allyson, thank you so much. I’m delighted you loved these biscuits as much as we do!
This is a beautiful biscuit however the biscuits spread out while they were rising so next time I’m probably going to put them in a rectangular pan so they will rise up and not out.
I was so impressed by the dough that I made cinnamon rolls with the second half of the dough. I can’t wait to see how they turn out!
These biscuits don’t typically spread out and become thinner when rising. Unless, the dough was too wet? Anyway, it does make beautiful cinnamon rolls, enjoy.
Melissa, can I use Bread Flour in place of All Purpose Flour? Would like to prepare tomorrow.
Hi Janice, yes you can with no other adjustments. Bread flour will give them a slightly different texture but, still delicious.
Do you freeze the biscuits before rising or after?
Freeze before rising.
Yes, freeze first. Frozen biscuits can be purchased in your local Grocery Store. Use the cooking instructions on the back for these.
From above “…froze 3 in a small cast iron skillet to try from frozen state today. I just sampled one of those. Perfection. I put the frozen skillet and biscuits in a 350* oven and they were done in 25 minutes, so making ahead and freezing will work fine.”
You could also thaw and let rise then bake like normal if you want to.
After refrigerating the dough overnight, how long does it take from the point of taking from refrigerator, cutting the biscuits and letting them rise before baking? Trying to schedule my timing for Thanksgiving lunch. Thanks!
You start at Step #8 if you’ve allowed the dough to rise in the refrigerator.
Very similar to Mom’s old “Yeast biscuit” recipe. Looking forward to trying this.
Mom would freeze regular biscuits raw, then cook at 350 for roughly 25 minutes until browned from the frozen state. Would that work for these too, or do they need to thaw and then rise first?
Hi Craig, I haven’t tested these from frozen I would love to know how it goes if you try it. That said, My Mom says these need to rest in the fridge overnight so, from a cold state they will bake fine. My guess is, that it would work, bread dough generally does well baking from frozen.
Made a batch yesterday. I used lard instead of shortening ’cause I didn’t have any shortening; otherwise followed the recipe as written.
GOODNESS SAKES! Biscuit Nirvana…..My wife and I ate three each for supper, nothing else.
These are just a little sweeter than Mom’s and have more yeast and less baking powder, plus 1/4C more shortening/lard.
I put a 9X13 panful in the fridge as instructed for Dinner today. I have them in a proofing drawer as I write this rising. We cooked 9 last night with no fridge time, just an hour rise, and also froze 3 in a small cast iron skillet to try from frozen state today. I just sampled one of those. Perfection. I put the frozen skillet and biscuits in a 350* oven and they were done in 25 minutes, so making ahead and freezing will work fine.
Be sure to crowd the raw biscuits in the pan or they will spread out too much. These almost double in size.
Thanks Melissa. Wish I could figure out how to post some pictures for your recipe.
Craig, that sounds amazing! I’m delighted you enjoyed these and truly appreciate your most helpful feedback for others. These are rather addictive so, making some to freeze is probably a very good idea. Thanks so much!
One other note on freezing.don’t store them frozen for more than 3-6 months or they will not rise well. Don’t ask how I know…..
Good to know, thanks!
HI, Can i make Angel Biscuit Gluten Free? I need GF recipes. do you have any
HI Marge, I’ve not tested this recipe using gluten free products. If you Google gluten free recipe blogs there are many you may find helpful.
May I omit the salt? My husband is on a low sodium diet, only 2000mg per day.
Thanks!
Mary
You can, sure.
Can all butter be used. if I don’t have shortening
The shortening actually plays a role in these biscuits turning out. You can but, it will alter the result.
I made the dough last night. Put it in a buttered bowl with a damp towel in the fridge. Got up this morning proofed in my oven setting and then cooked them for breakfast! Wonnderful!! Freezing 16 have 8 left in fridge and cooked 8 this AM. Love this!
Wonderful, this dough is very forgiving and my Mom always lets her dough proof in the fridge. Thanks so much for taking the time to let me know you enjoyed them.
I made this recipe twice with the same result. They rose well and looked good but had an “off” taste. A bad taste most undesirable. I’ve made bread for 50 years and had very few failures. The only substitution was that I used regular milk with lemon juice added to it as a substitute for buttermilk. What could have caused the biscuits to taste bad?
If the yeast you used wasn’t fresh it could have been the issue. Otherwise, there’s nothing in this recipe that should have a different taste the ingredients are pantry staples.Hopefully, all of the ingredients were quality but, it could have been the yeast. Otherwise, no idea.
Is unsalted butter ok?
Sure, no problem.
Does the dough have to be refrigerated first, and then allowed to rise? Or can you work with the dough immediately after mixing/kneading?
You can work the dough immediately then allow to rise per the instructions.
Can the extra biscuits be frozen and baked at a later date?
Yes, they can.
I realize that this is an older post, but I just wanted to share how amazing I think this recipe is! I was never successful at making biscuits, ever, until this recipe. Now my husband won’t eat any other biscuits and even prefers them over his mom’s. I make the whole batch of 24 and between our family of 5 and my in-laws family of 3 the entire pan is gone in a day.
I love these, too! I’m delighted your family is enjoying them they truly are delicious. Old or new, I love hearing from you thanks so much for taking the time to let me know.
This recipe sounds wonderful. Can these be frozen after cutting for future use?
Thanks Betty, biscuit dough generally freezes quite well, so yes.
I love these biscuits and have been making them for years. One thing I do differently is freeze the butter and shortening and grate them into the flour. It makes them very flaky. In regard to Melissa’s problem. If you don’t measure exactly you will have the problem you describe. Dry ingredients must not be heaping and the top needs to be smoothed over before using.Even a little bit off on the liquid and you will have a problem. I’ve had the opposite problem in my younger years when I baked with using inaccurate measurements of dry ingredients. So accurate measurements are a must.
I found out it is best to spoon the flour into measuring cup and then knife off the top. If you just dig in the flour container there is a tendency to pack the flour.
Absolutely! Always scoop and level.
Amy, I’ve been making this as written for years. I’m not sure I have any insight as to why your dough was particularly sticky, I haven’t had that issue. Perhaps,just make sure you measure the wet ingredients carefully to balance the ratio of wet to dry or you will have to add more dry to combat, and thus change how the biscuits turn out. If more ingredients are added, it changes everything including how they look and how long it takes them to bake.
Melissa, why no sugar in the yeast while proofing? I have always thought that aided in the process.
It does you’re right. This is a family recipe and I published it exactly how they’ve been made with great success for decades. It was one of those “If it ain’t broke” moments.
Salt actually helps the yeast do its job not the sugar
Can you use self rising flour in this recipe?
All purpose flour and self rising can’t be used interchangeably in recipes.
wonderful recipe. Haven’t made this in years.