Easy No Knead Yeast Rolls

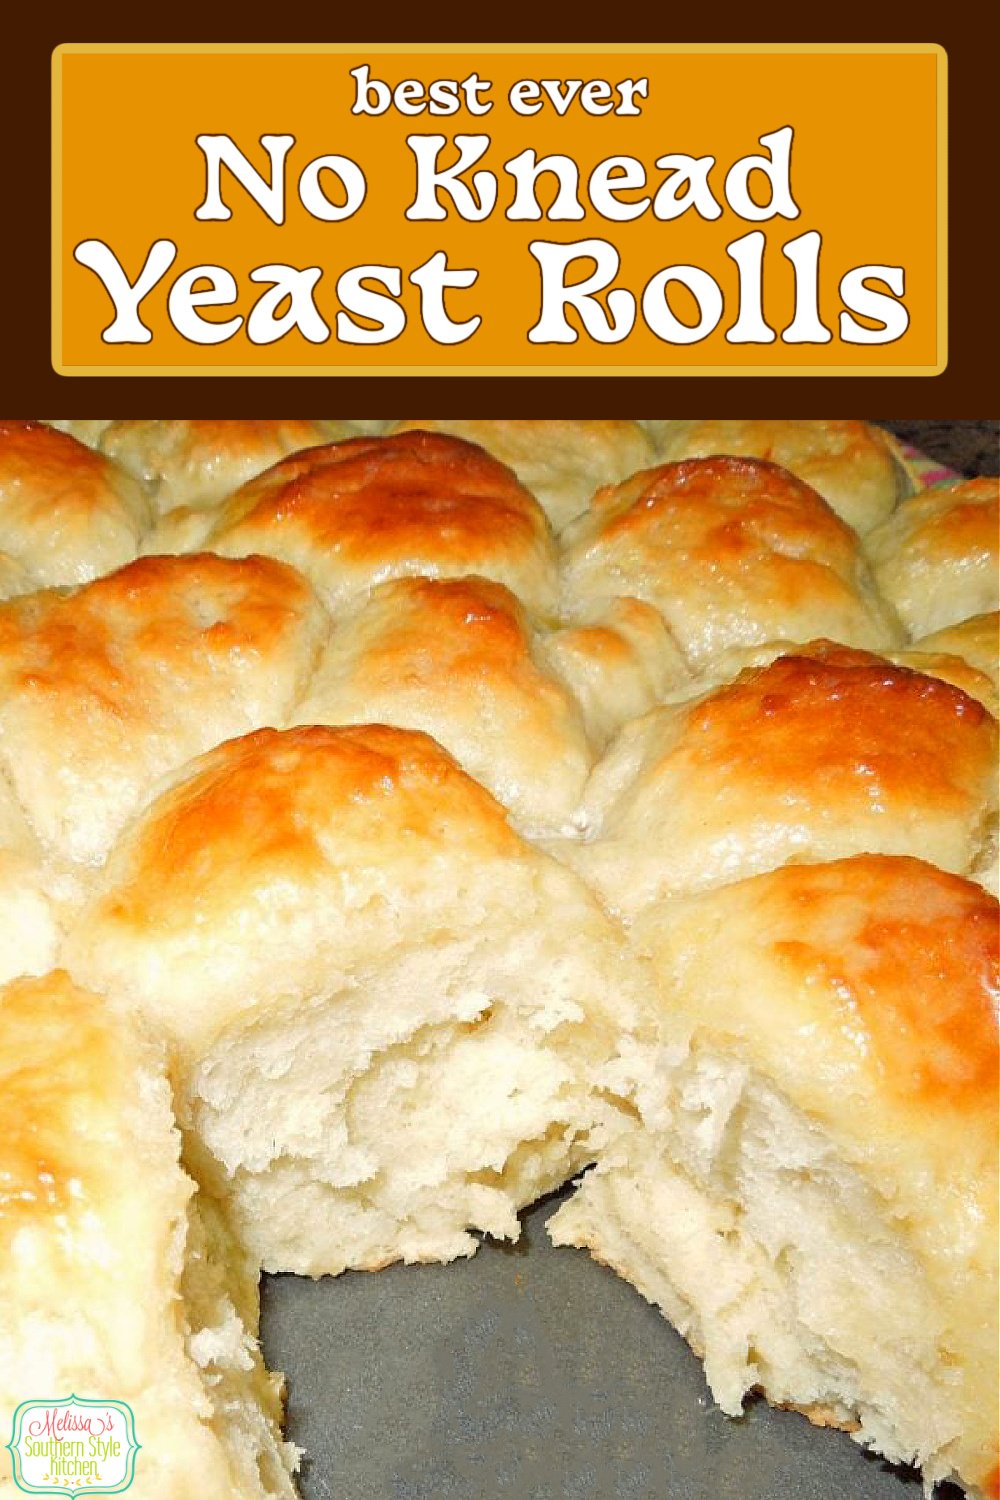
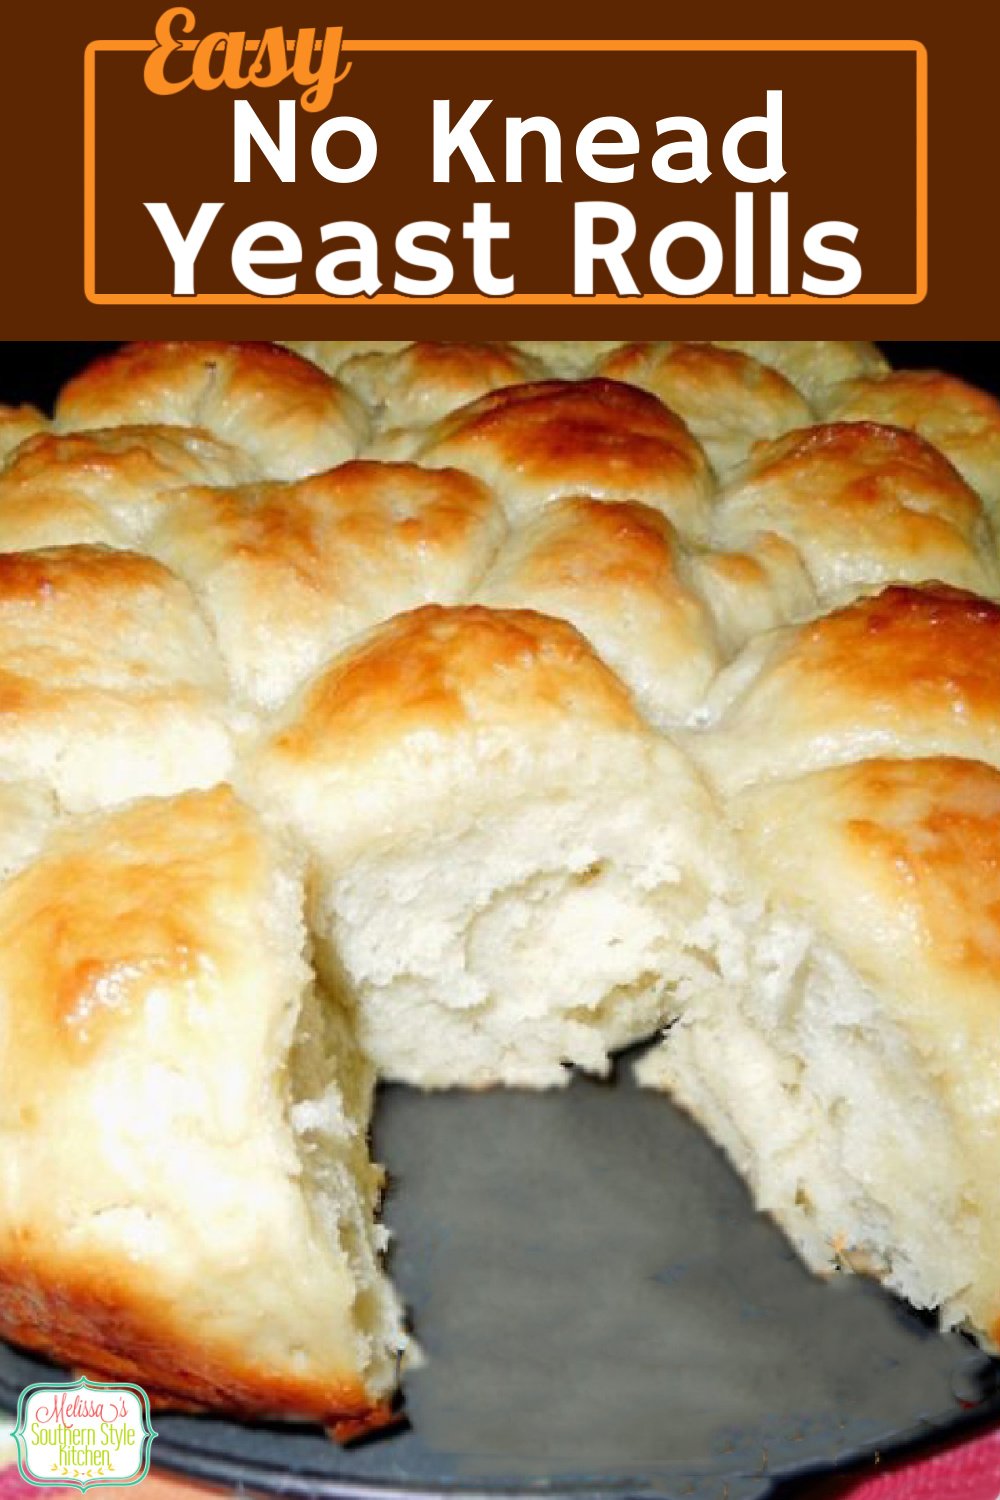
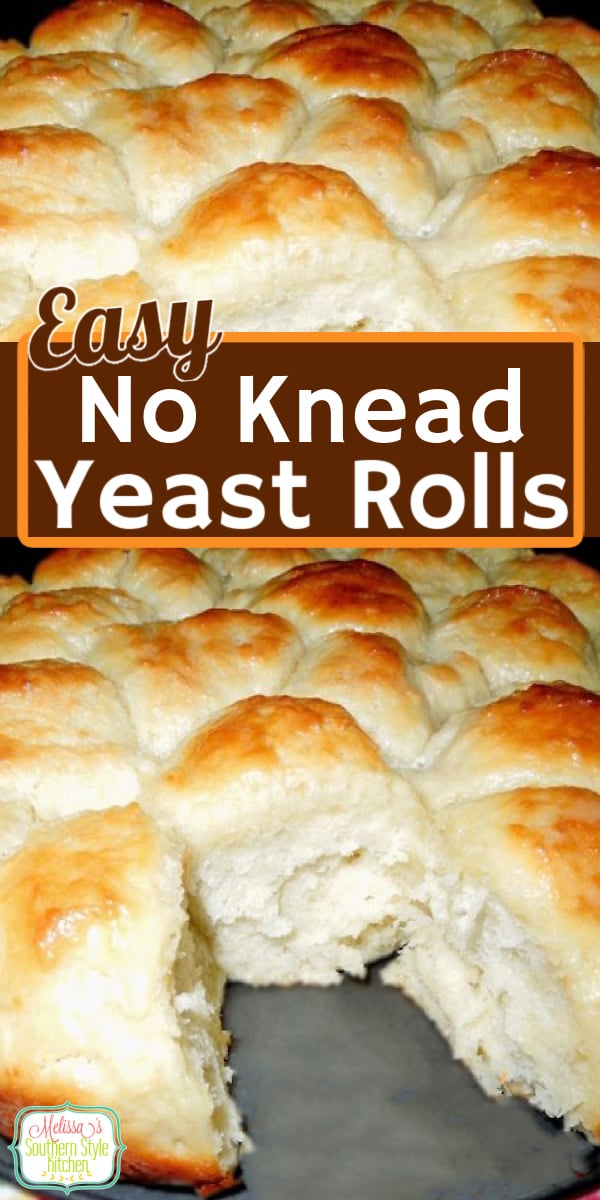
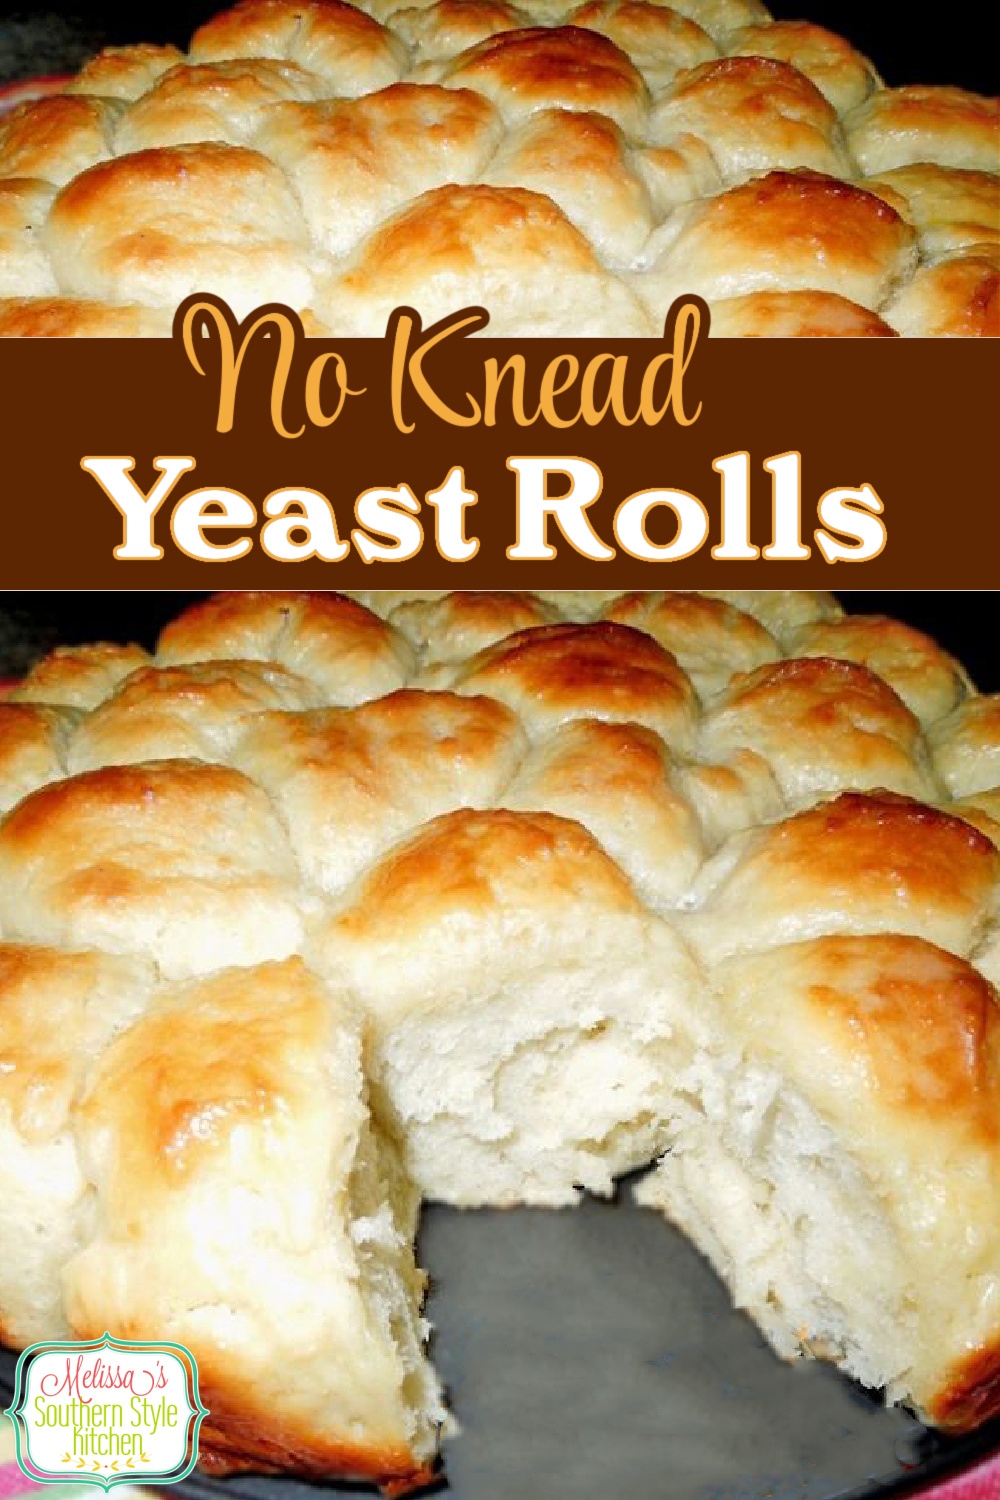
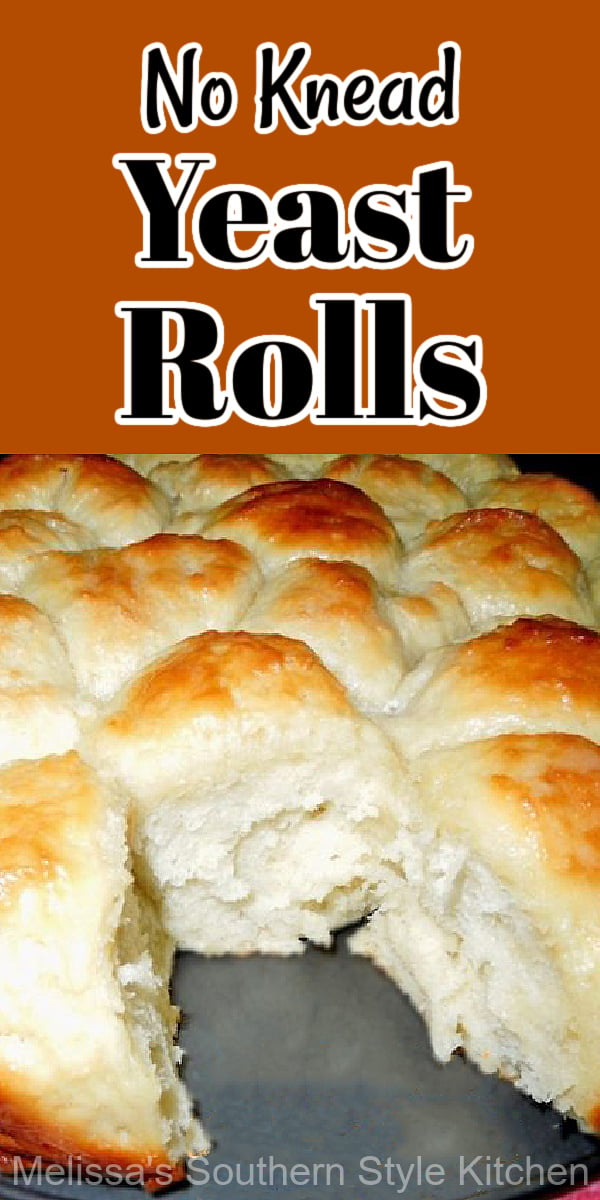
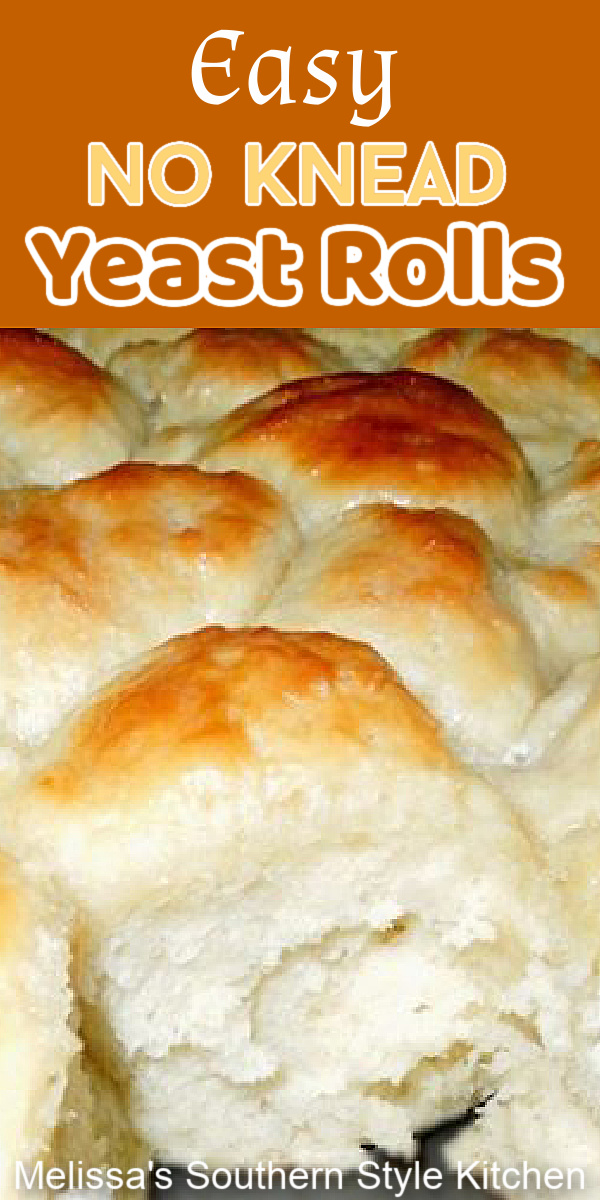
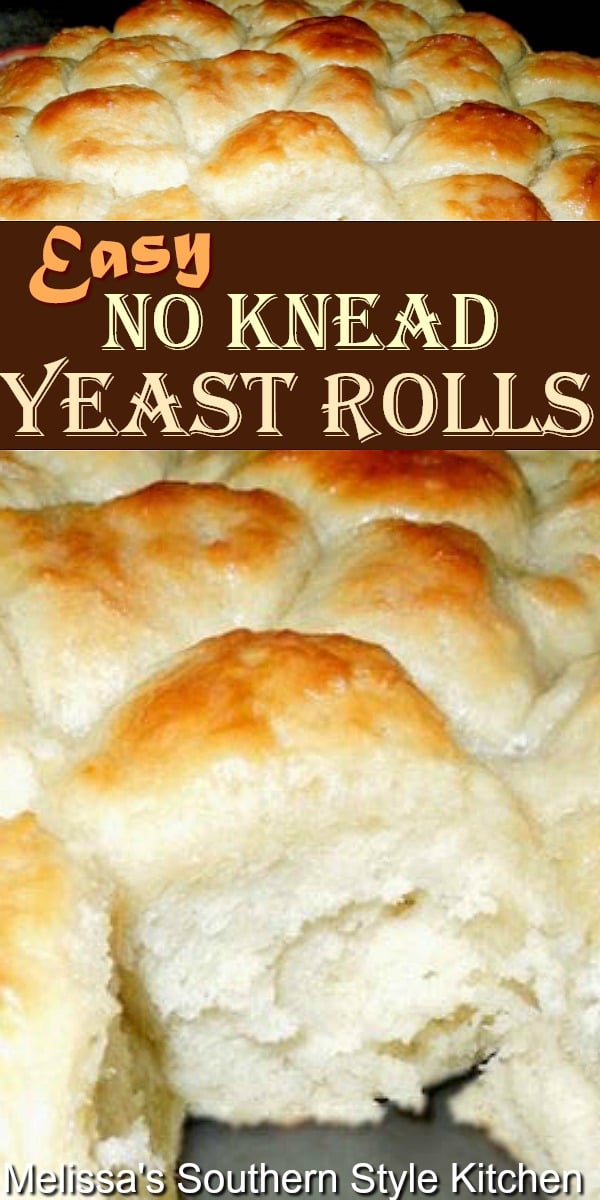
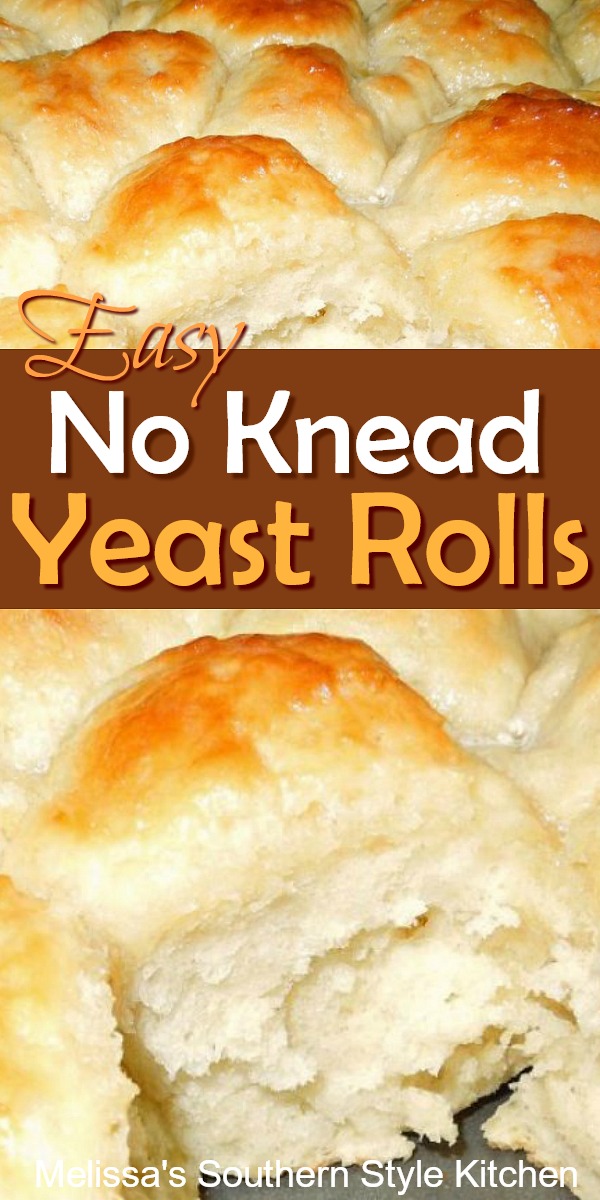
This Easy No Knead Yeast Rolls recipe is one that anyone can make with success. These made-from-scratch Southern style yeast rolls smell simply heavenly while baking and the taste is only elevated when served warm slathered with butter straight from the oven.

Ingredients to Make No Knead Yeast Rolls Recipe
No Knead Rolls? It can’t be possible right? Well, I’m here to tell you that it IS possible! I was intrigued at the no knead phenomenon and after working on this recipe, I discovered that it truly is easy and requires no special equipment at all. After developing these rolls and making them for my family I can say, I’m a “no knead bread” believer now! These homemade dinner rolls are family tested and approved perfect for Easter, Christmas, Thanksgiving or any special occasion. They can also be prepared in advance and baked just before serving for a time saver.
Key ingredients you’ll need to make No Knead Dinner Rolls Recipe: (Scroll down for the full printable recipe card.)
- Flour – All purpose flour forms the base of the dough.
- Yeast – This recipe uses rapid rise yeast which activates more quickly. You can use classic active dry yeast, but the rolls will take longer to rise.
- Sugar – Granulated sugar balances the flavor and “feeds” the yeast.;
- Liquid – Warm whole milk or water. Milk will give the dough a creamier texture.
- Salt – Salt is imperative for the bread to taste seasoned.
- Whole Egg – One whole egg binds the dough.
- Butter – Salted or unsalted butter for richness.

How to Make Easy No Knead Yeast Rolls Recipe
- Bloom the Yeast – First, start with fresh yeast and one teaspoon of granulated sugar dissolved in warm milk. You can also use warm water. Make sure it’s not boiling or it could kill the yeast. Let this mixture stand until it becomes frothy.
- Sift the Dry Ingredients – Use a whisk to sift together all purpose flour, granulated sugar, salt and one large egg.
- Combine – Add the sifted flour mixture and melted butter to the yeast mixture. Stir with an electric mixer on low speed. (Alternately, mix by hand until the mixture is fully moistened.)
- Let Stand – Cover the bowl with a damp tea towel or plastic wrap and let the dough rise in warm spot.
- Roll the Dough – After the dough has doubled in size, divide the bread dough pinching equal pieces (gold ball size amounts), rolling with your hands stretching the dough and pulling the ends tucking them under.
- Transfer Dough to a Prepared Pan – Place side by side in a buttered pan.
- Let Rise – Brush the tops with melted butter then cover and let rise for 1 hour.
- Oven – Bake the rolls per the recipe until puffy and golden brown.
- Serve – You can brush the tops with more butter once removed from the oven, then serve and enjoy!
Kitchen Equipment to Make No Knead Rolls
- Large bowl and measuring cup of small bowl for the yeast.
- Large whisk for sifting the dry ingredients.
- Measuring cups and spoons.
- 10-inch springform pan or square 9×9-inch baking pan.
- Pastry brush and small bowl to melt the butter for brushing the tops.
- Instant read thermometer is handy for testing the water, if you’re unsure.
- A large non-stick silicone spatula incorporates the flour into the wet ingredients more easily without sticking. You could also use a wooden spoon.
- Ice Cream Scoop – Using an ice cream scoop helps maintain conformity in size and facilitates even baking.

What is Rapid Rise Yeast?
Rapid rise yeast is a variation of instant yeast. It has smaller granules that dissolve easily in liquid and rise quickly in the dough. You can use long acting active dry yeast in the same amount, just allow more time for the bread to rise.
Recipe Variations, Tips and Substitutions
- Use Lukewarm Milk or Water – Temperature matters when working with yeast. If you use hot water or milk, it will kill the yeast and the bread won’t rise. So, use an instant read thermometer, if you’re unsure and make sure the liquid is lukewarm or around 110°F. Not boiling. If after following the procedure the yeast doesn’t foam, throw it out and start over.
- Fresh Herbs – You may like to incorporate herbs like rosemary, chives or parsley to change up the flavor profile.
- Seasonings – You could add garlic powder, onion powder or dry Italian seasoning to your taste.
- Double the Recipe for More Rolls – Can this yeast rolls recipe be doubled? Yes, you can double the amounts. A double batch may require a fair amount of extra kneading to fully incorporate all of the ingredients. Otherwise, make two single batches when you need more rolls.
- Pan Options – You can bake these rolls in an oven safe skillet or buttered muffin cup of a cupcake pan.
- Serve the Rolls – If you’re looking for a deliciously savory main course to go with these rolls, try my this Oven Braised Beef Stew or Instant Pot Mississippi Pot Roast.
Storage and Leftovers
- Make-Ahead Tip – Can I prepare these rolls in advance and chill them overnight in the refrigerator? Yes, you sure can! These rolls can be prepared the night before, then after forming the dough into rolls, place them into the prepared pan and cover loosely with plastic wrap. The dough will continue to rise overnight even when chilled in the refrigerator ready for baking the next day.
- Bring to Room Temperature -When making the dough in advance, allow the rolls to rest and rise on the counter for 1 hour prior to baking.
- Leftovers – Store leftover No Knead Yeast Rolls (baked rolls) tightly wrapped in heavy duty aluminum foil or in an airtight container at room temperature for up to 2 days.
- Reheating – Gently reheat in single servings in the microwave.
- Freezer – You can freeze the rolls prior to the second rise or after baking for up to 2 months. If the dough is frozen prior to baking, thaw overnight in the fridge then allow 1 hour or so on the counter prior to baking to allow the rolls to rise.

More Southern Style Yeast Rolls and Bread Recipes to Make
- For brunch, breakfast or tea time, you’ll love my recipe for sweet Orange Cinnamon Rolls.
- Honey Yeast Rolls can be made in advance then placed into the refrigerator overnight prior to baking.
- You won’t believe how easy it is to make a loaf of Beer Bread.
- Easy Garlic Parmesan Pull Apart Bread is spectacular dipped in warm marinara for serving.
- Bake a loaf of Potato Bread for sandwiches.
- Bake a loaf of Whole Wheat Bread for sandwiches.
- A sweet option Chocolate Chip Banana Bread is a tasty option.
- Delicious homemade French Bread.
- Another bread loving recipe to try this recipe for Buttery Crescent Rolls from Taste of Home.
Thanks for visiting come back soon!
Disclosure ~ If a purchase is made using one of the affiliate links on this website we may earn a small commission at no additional cost to you. Thank you!
Helpful Kitchen Items:

Easy No Knead Yeast Rolls
Ingredients
- 2 (1/4 oz each) packets rapid rise yeast [i.e. Fleischmann's or similar] (Two 1/4 oz packets)
- 1/4 cup granulated sugar plus 1 tsp
- 1 1/3 cup milk (may use water)
- 4 cups all purpose flour
- 1 tsp salt
- 1 large egg
- 8 Tbsp butter divided
Instructions
- In a large measuring cup, dissolve both packets of yeast and 1 teaspoon of sugar in 1 1/3 cup of lukewarm milk or water. (110°F) If you use hot milk or water, it will kill the yeast and the bread won't rise. It should be lukewarm, not boiling.
- Let the yeast mixture stand on the counter for 5-7 minutes to allow the yeast to "bloom." You'll see bubbles and froth begin to gather on the top.
- Meanwhile, in a large mixing bowl, use a whisk to sift together flour, salt and sugar. Add the egg.
- After the yeast has developed, gradually add to the dry ingredients in the bowl, along with 5 tablespoons of melted butter.
- Begin to blend the ingredients together, using a large silicone spoon or spatula incorporating more liquid as you go. (A silicone spatula makes this task a lot easier.)
- After incorporating all of the flour place turn the dough then place into a buttered bowl, and cover with a damp tea towel or plastic wrap sprayed with cooking spray.
- Allow the dough to sit in a warm place, covered for 1 hour or until doubled in size.
- Uncover the dough and gently punch down the dough. Use a medium size ice cream scoop, lightly sprayed with cooking spray, to separate the dough into equal pieces. (You can also pinch off each piece of dough with your hands.)
- Roll formed dough into a ball (gold ball size) gently stretching and folding the dough under itself.
- Arrange formed dough side by side, in a buttered non-stick metal baking pan. (i.e.10-inch springform pan or similar.)
- Melt the remaining 3 tablespoons of butter in a small bowl. Using a pastry brush, lightly brush the tops of the rolls. Reserve some of the melted butter to brush on the tops after the rolls come out of the oven, too.
- Cover with a damp cloth and allow the rolls to rise in a warm place until doubled, about one hour.
- Uncover rolls and place into a preheated 400°F. Bake for 20-22 minutes or until puffed and golden.
- Serve immediately with butter.
- To Make the Yeast Rolls in Advance: After forming the dough into rolls, cover loosely with plastic wrap sprayed with cooking spray and refrigerate overnight. Allow 45 minutes to 1 hour on the counter then uncover and brush with melted butter just before baking. Bake in a preheated 400°F for for 20-22 minutes until golden. The rolls will continue to slowly rise even in the refrigerator.
Notes
- Use Lukewarm Milk or Water – Temperature matters when working with yeast. If you use hot water or milk, it will kill the yeast and the bread won’t rise. So, use an instant read thermometer, if you’re unsure and make sure the liquid is lukewarm or around 110°F. Not boiling. If after following the procedure the yeast doesn’t foam, throw it out and start over.
- Rapid Rise Yeast – What is rapid rise yeast? Rapid rise yeast is a variation of instant yeast. It has smaller granules that dissolve easily in liquid and rise quickly in the dough. You can use long acting active dry yeast in the same amount, just allow more time for the bread to rise.
- Fresh Herbs – You may like to incorporate herbs like rosemary, chives or parsley to change up the flavor profile.
- Seasonings – You could add garlic powder, onion powder or dry Italian seasoning to your taste.
- Double the Recipe for More Rolls – Can this yeast rolls recipe be doubled? Yes, you can double the amounts. A double batch may require a fair amount of extra kneading to fully incorporate all of the ingredients. Otherwise, make two single batches when you need more rolls.
So happy you enjoyed these, thanks for taking the time to let me know!
You can’t go wrong using your Kitchen Aid,I certainly love mine! I hope you love these and your family enjoys them immensely. Happy baking, Melissa
I have these rising right now. I used my Kitchen Aid Mixer on low (no arthritis, just lazy) they seemed to be turning out well so far. I couldn’t find a warm place in the house so I set my oven to warm and hold for a few minutes the shut it off once it started heating. I have never made bread before but the hubby and oldest son loves homemade bread from my mothers so I hope these turn out as tasty as you say.
Can I put my rolls in muffin cups?
If you prefer, sure!
Sure you can, Mary. That’s the beauty of this recipe it will work either way.
Can I mix the dough in my KitchenAid stand mixer on low adding ingredients per your recipe as I go along? Reason I’m asking is because I have severe arthritis in my hands and I wouldn’t be able to hand-mix the dough. Thanks for any reply!
Hi Laurie, thanks so much for your comment. I’m thrilled you’re enjoying these rolls. Happy Thanksgiving ~ Melissa
Making these today for the second time. They are awesome and so fool-proof. I am sure there will be rave reviews on these tomorrow!!
I do both. Brush the tops just before baking, then again right out of the oven. Enjoy!
I am making these today for tomorrow…do I brush the tops with the butter before or after refrigerating?
Kirst, you can also bake these rolls until almost golden, cool completely and wrap. Then thaw, and reheat in a 375°F oven to finish browning. [Or bake completely and re-warm in the microwave, if you like.]
I’d like to make this before Thanksgiving, any suggestions on freezing the dough?
Thanks
I’ve never tried it with this particular bread, but I expect it would work in a pinch. If you try it, come back and comment telling others how it worked.
Would buttermilk work?
I’ve honestly never added cheese to these rolls, but I expect a finely grated cheese would likely work. If you try it, leave a comment about how it worked for you.
I was just wondering if you can add cheese to this recipe with ease or not?
Love this recipe! Because I am an inpatient person, instead of waiting the hour to let dough raise, I put hand warm water in sink and set the bowl in it. Less than half the time 😃 and it worked well. Did the same with the rolls while they we raising. Thanks for your fantastic recipes!
I think if you wanted to use whole wheat flour that you could add 2 tbsp. of gluten to help with the rising.
Oh sure, this dough works for loaf bread, too, if you prefer.