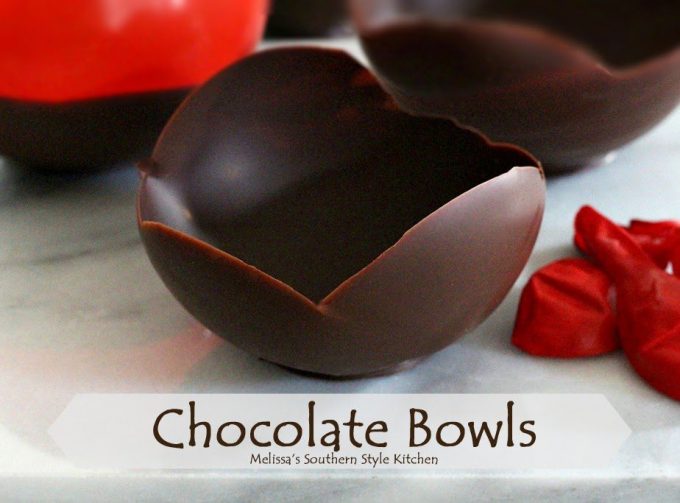
Edible Chocolate Bowls
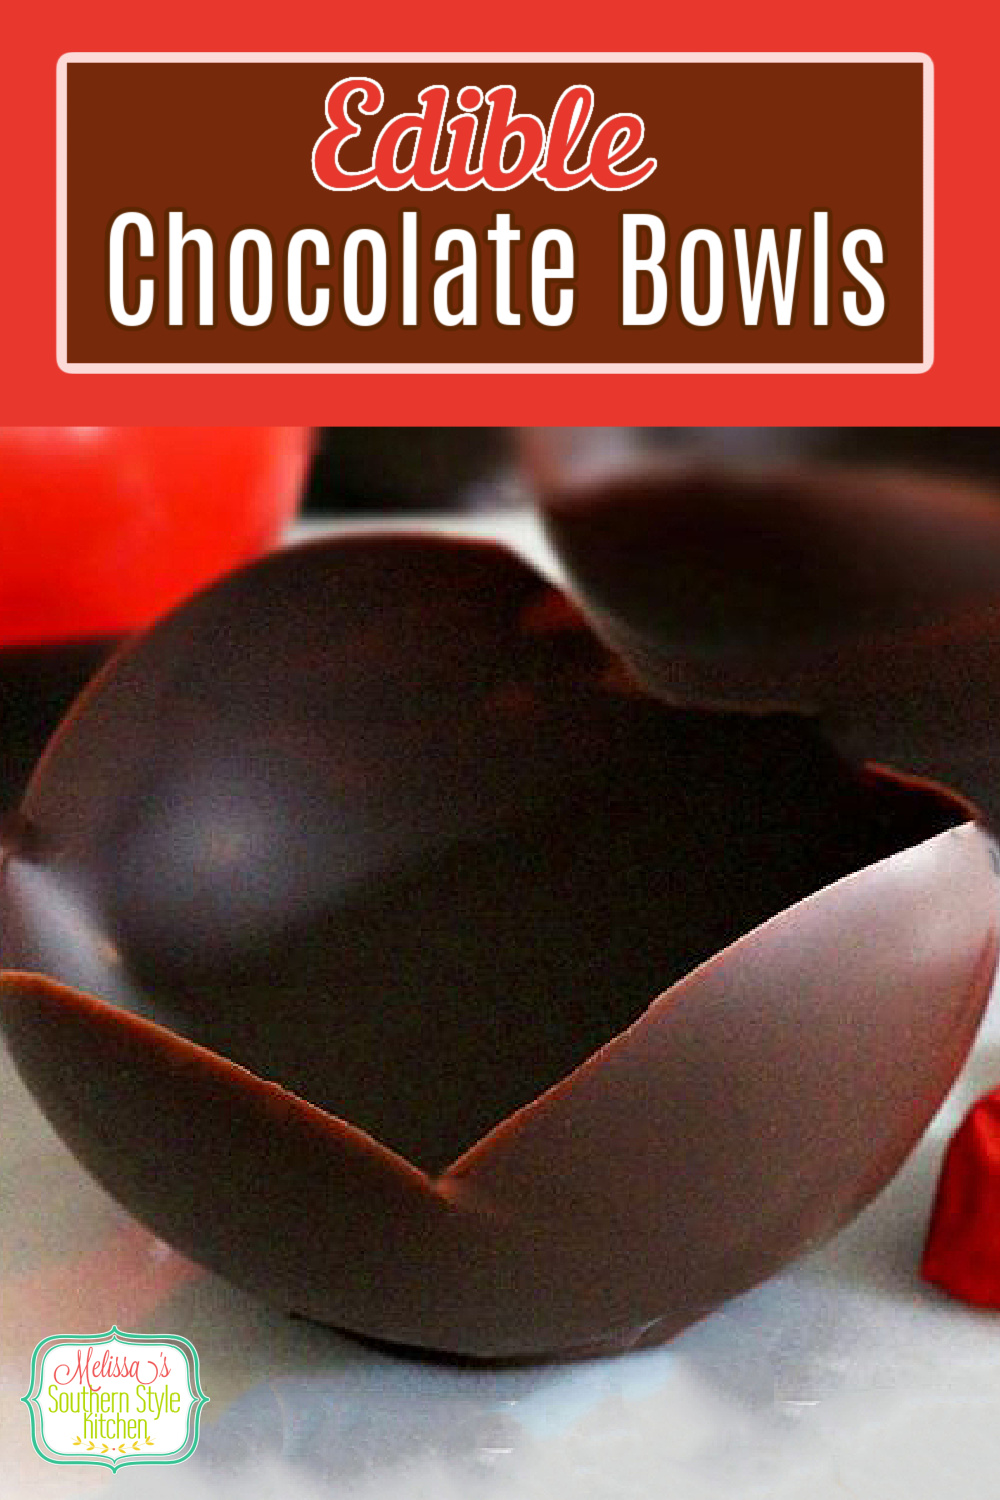

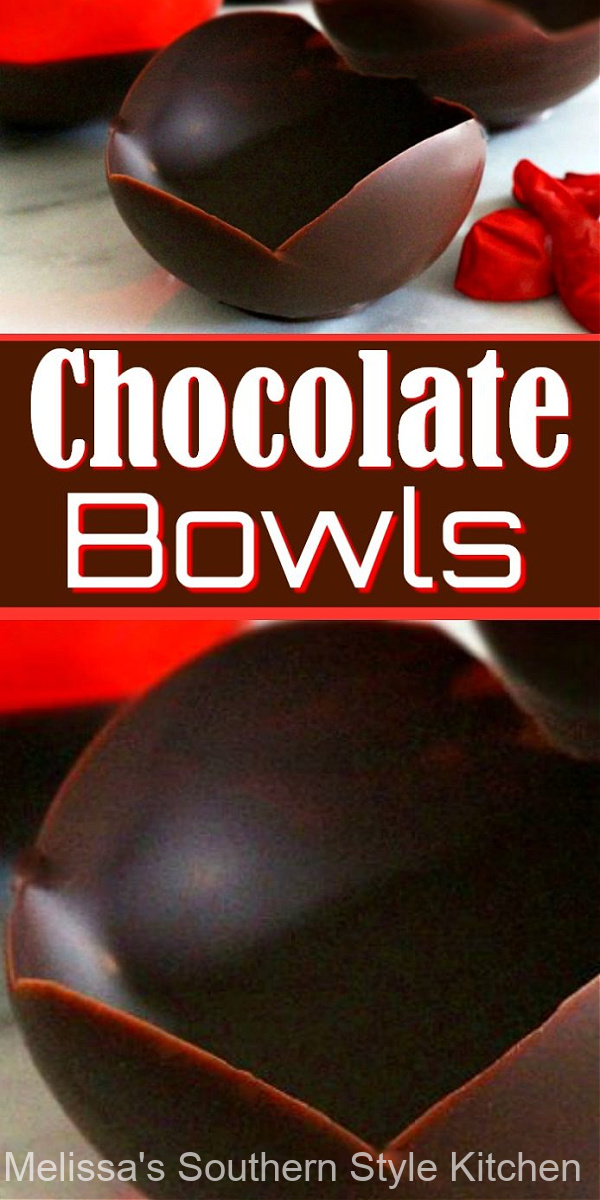
These homemade Edible Chocolate Bowls can be filled with fresh berries and cream, mousse, ice cream, pastry cream or turned into a beautiful parfait. They form the base for a beautiful and impressive dessert.
Easy Edible Chocolate Bowls Recipe
Have you ever been to a restaurant and admired the dessert display? You might see something magnificent poured into a chocolate bowl like this. When you’re ready to start, I have found it best to blow up the balloons so they fit comfortably into the palm of your hand. You can make the bowls into any size you desire, depending on the size of the balloons, using more or less chocolate. It’s easier to handle the balloons when they fit into your hand easily. How to make Edible Chocolate Bowls.(Scroll down for full printable recipe.)
- Balloons – Blow up the balloons so they fit comfortably in the palm of your hand.
- Melt Chocolate – In a double boiler over simmering water melt chocolate. Stir occasionally. Continue until completely smooth. (Alternately, use a heat proof bowl over 1 inch simmering water. Do not let the water touch the bottom of the bowl.)
- Prepare Pan – Line a large sheet pan with wax paper. Drop 2 tsp melted chocolate onto the pan to make 8 disks.
- Allow enough room between each disc for the balloons to sit upright. These will form the bases of the bowls.
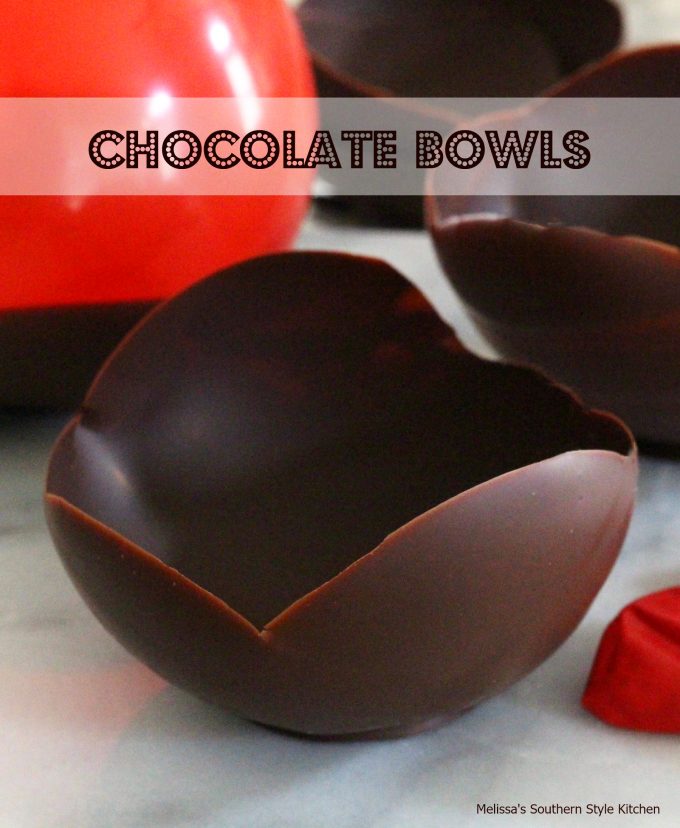
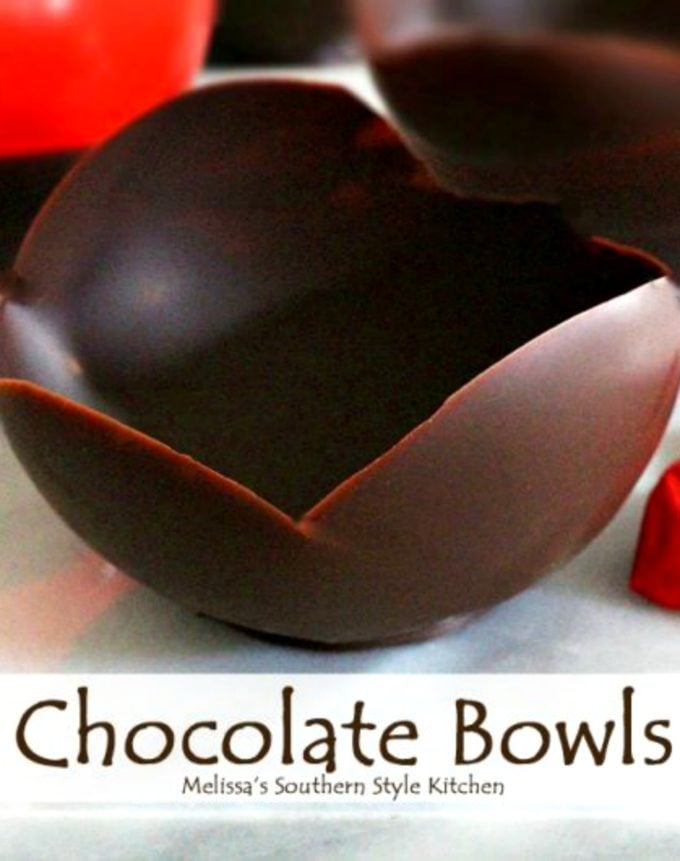
- Coat Balloons – Dip the balloons into the chocolate, turning to coat. Use a rocking motion. Remember, each bowl will be slightly different in shape depending on how you swirl the balloon in the melted chocolate. You’ll need the coating to be fairly thick.
- Transfer to Pan Place upright onto the chocolate disc. Repeat until all are made.
- Refrigerate – Place the pan into the fridge for at least 30 minutes until completely hardened.
- Deflate the Balloon – When set use a toothpick or scissors to cut a small hole in the top of the balloon. The edges of the bowls can be delicate, so it’s important that the air releases from the balloon slowly. Carefully, peel the bottom from the wax paper.
- Fill and enjoy!

How to Make the BEST Edible Chocolate Bowls
- Ingredients you’ll need tp make homemade Chocolate Bowls: Three cups of semi sweet, milk chocolate, white chocolate or dark chocolate baking chips.
- Kitchen tools you’ll need: Balloons, double boiler, measuring cup, rubber spatula, wax paper and sheet pan.
- To melt the chocolate, use a double boiler over one inch of simmering water. If you don’t have a double boiler you can make your own.
- To do so, use a heat proof bowl placed over an inch of simmering water in a saucepan. Do not let the water touch the bottom of the bowl. I highly recommend testing the bowl and pan for a good fit prior to beginning to be certain it will fit together with room for the simmering water.
- To make these bowls, you can use semi-sweet chocolate, white chocolate, milk or dark chocolate chips to make these bowls, or create a mix of different flavors.
- The beauty of this recipe is; if the shape of the bowls isn’t to your liking simply break them apart and place the pieces back into the double boiler and melt again.
- Once the chocolate has hardened, you can take sharp scissors and trim the edges of the bowls.
- You can make these bowls as small or as large as you like depending on the size of the balloons. This is a chance to have fun and get creative. The kids love helping, too!
- What do you serve in Chocolate Bowls? You can scoop ice cream into these bowls, your favorite flavor of mousse and fresh berries or turn them into an easy dessert filled with whipped cream or lemon curd or pudding with cookies and fresh fruit.
- Store Edible Chocolate Bowls in an airtight container at room temperature for up to 2 weeks.
More Easy Chocolate Dessert Recipes to Make
- Crunchy No Bake Chocolate Peanut Butter Bars.
- Death By Chocolate Eclair Cake requires no baking at all.
- A decadent pie version of the famous cake you’ll love this German Chocolate Pie.
- Flourless Chocolate Cookies melt in your mouth.
- Homemade Triple Chocolate Pudding would be delicious served in these bowls!
- Double Chocolate Chip Muffins are the perfect excuse to have chocolate for breakfast.
- Chocolate Mousse from Natasha’s Kitchen.
Thanks for visiting come back soon!
Disclosure ~ If a purchase is made using one of the affiliate links on this website we may earn a small commission at no additional cost to you. Thank you!
Helpful Kitchen Items:
Chocolate Bowls – Tutorial
Ingredients
- 3 cups chocolate chips (semi-sweet chips, dark chips, milk chocolate chips or white chocolate chips)
- 8 balloons, wiped clean Use latex free if allergic
- wax paper and sheet pans
Instructions
- Blow up the balloons so they fit comfortably in the palm of your hand. You can make the bowls into any size you desire, depending on the size of the balloons, you may need more or less melted chocolate.
- In a double boiler over simmering water melt chocolate. Stir occasionally. Continue until completely smooth. (Alternately, use a heat proof bowl over 1 inch simmering water. Do not let the water touch the bottom of the bowl.)
- Line a large baking sheet with wax paper. Drop 2 tsp melted chocolate onto the pan to make 8 disks.
- Allow enough room between each disc for the balloons to sit upright. These will form the bases of the bowls.
- Dip the balloons into the chocolate, turning to coat. Use a rocking motion. Remember, each bowl will be slightly different in shape depending on how you swirl the balloon in the melted chocolate. You’ll need the coating to be fairly thick.
- Place upright onto the chocolate disc. Repeat until all are made. Place the pan into the fridge for at least 30 minutes until completely hardened.
- When set, use a toothpick or scissors to cut a small hole in the top of the balloon. The edges of the bowls can be delicate, so it's important that the air releases from the balloon slowly. Carefully, peel the bottom from the wax paper.
- Fill with chocolate mousse, assorted berries and fresh whipped cream or ice cream.
Notes
Nutrition
I decided to make these for my daughters sleepover, I set up an ice cream bar nd they filled them up. They were the hit of the party, thanks!
I absolutely love this! I’m making them for Valentine’s day. 🙂
Glad to help! The beauty of this project, is you can always melt the chocolate again and start over without waste. I hope it goes well for you!
You make it sound so easy. I think I will have to try this.
Del