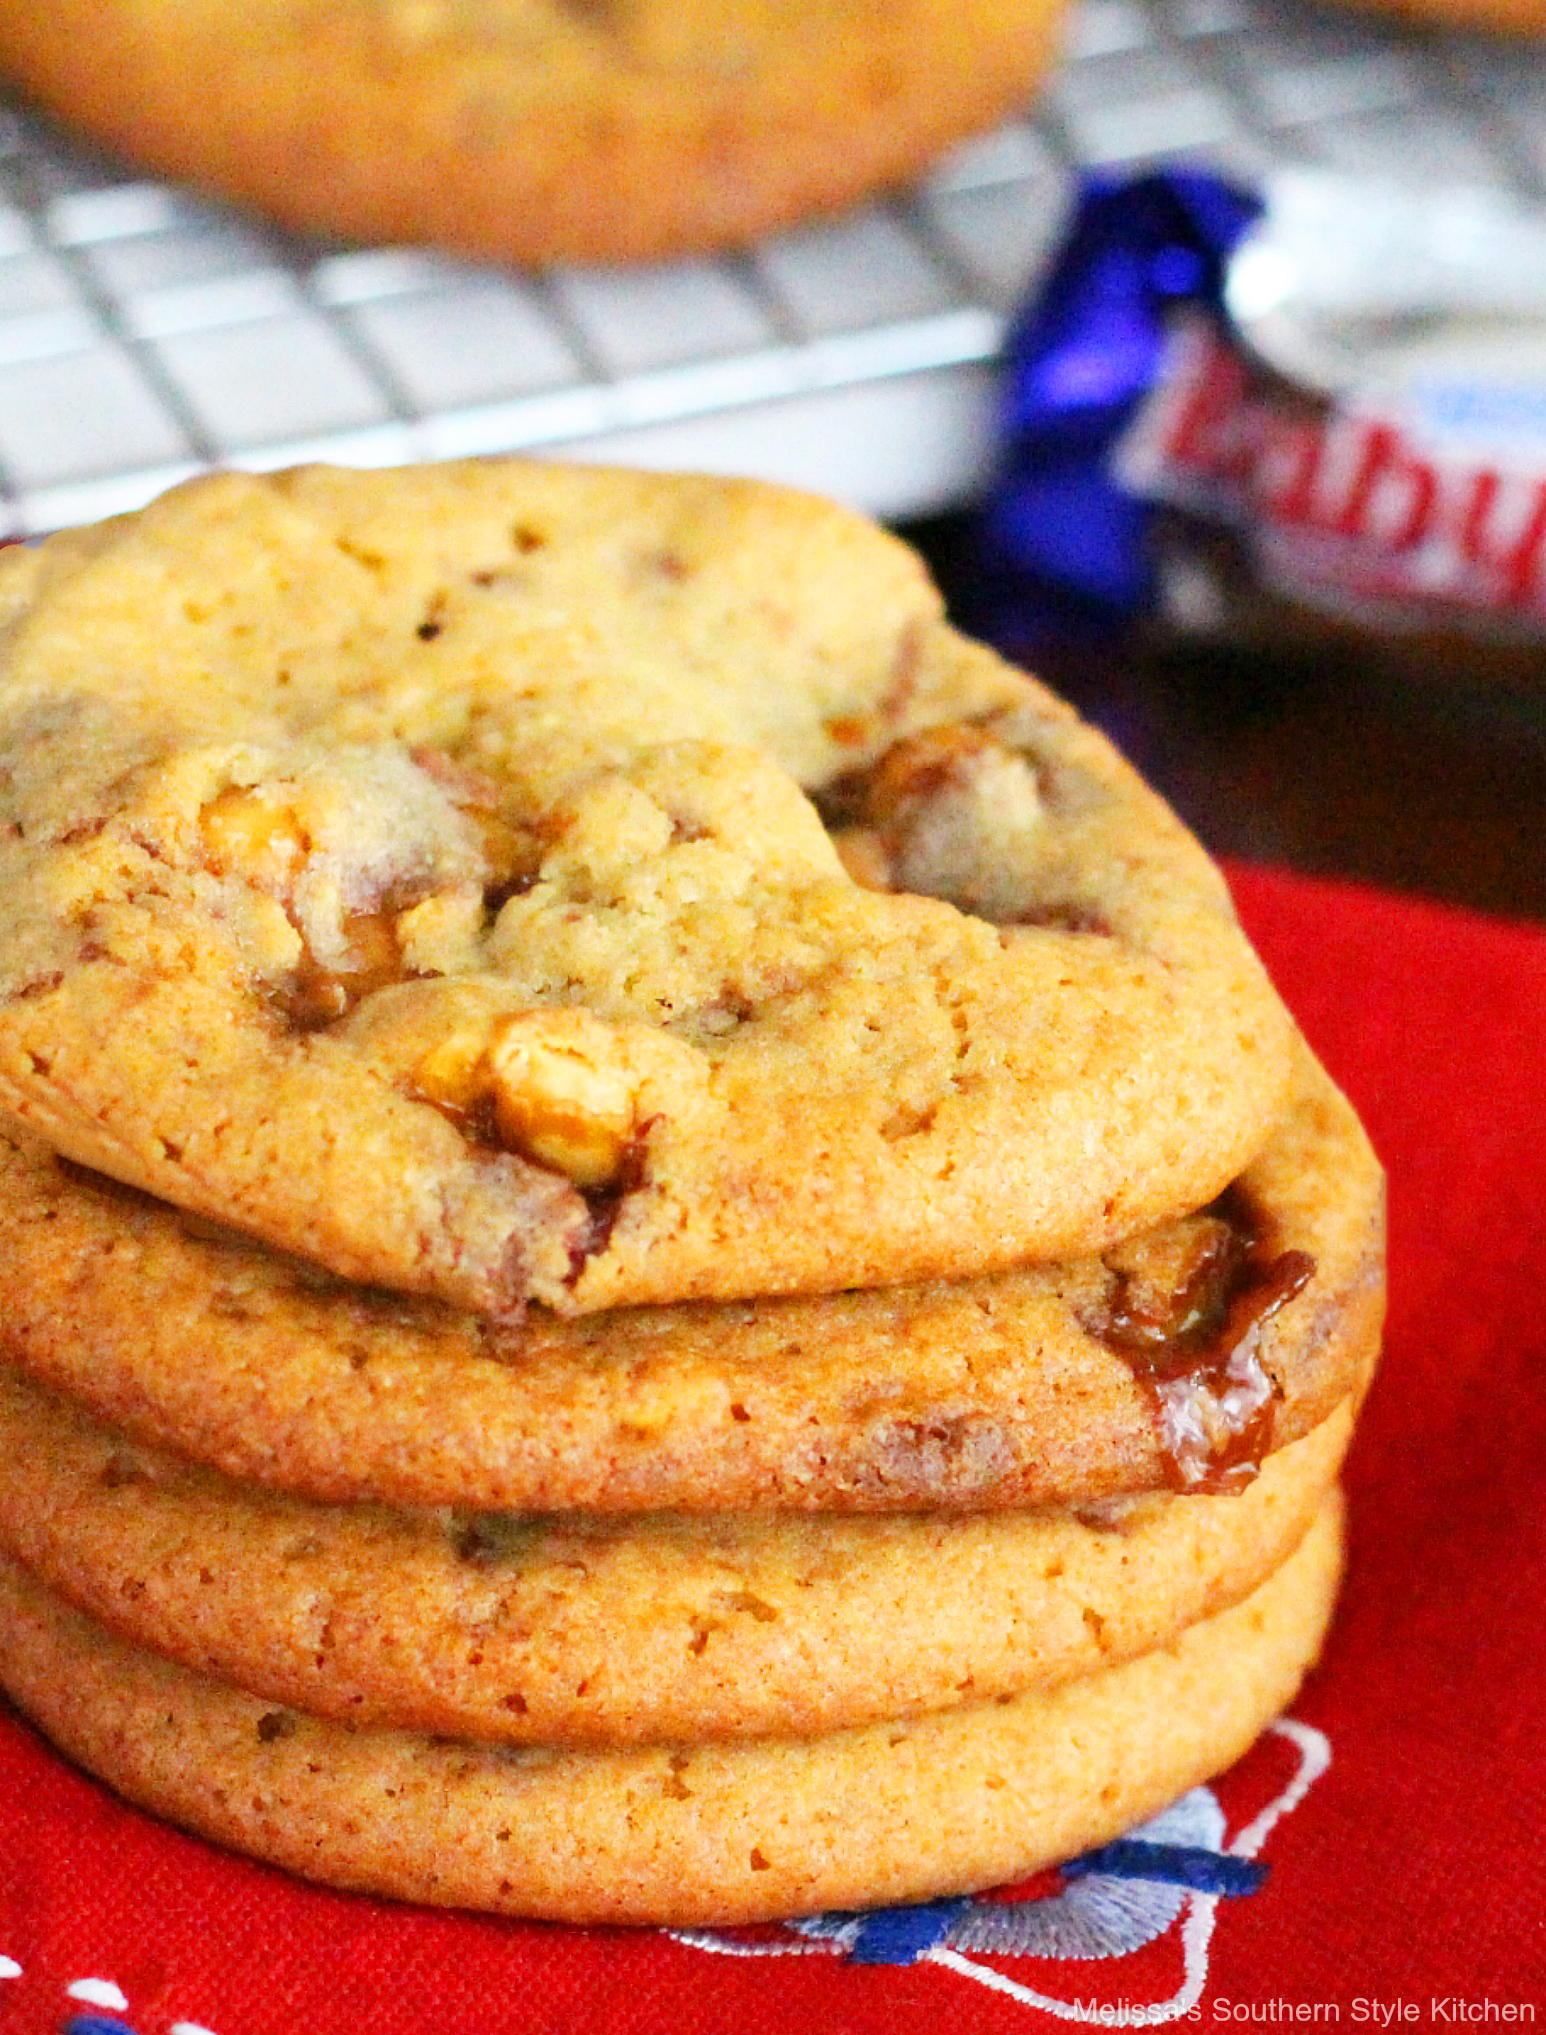
Baby Ruth Cookies
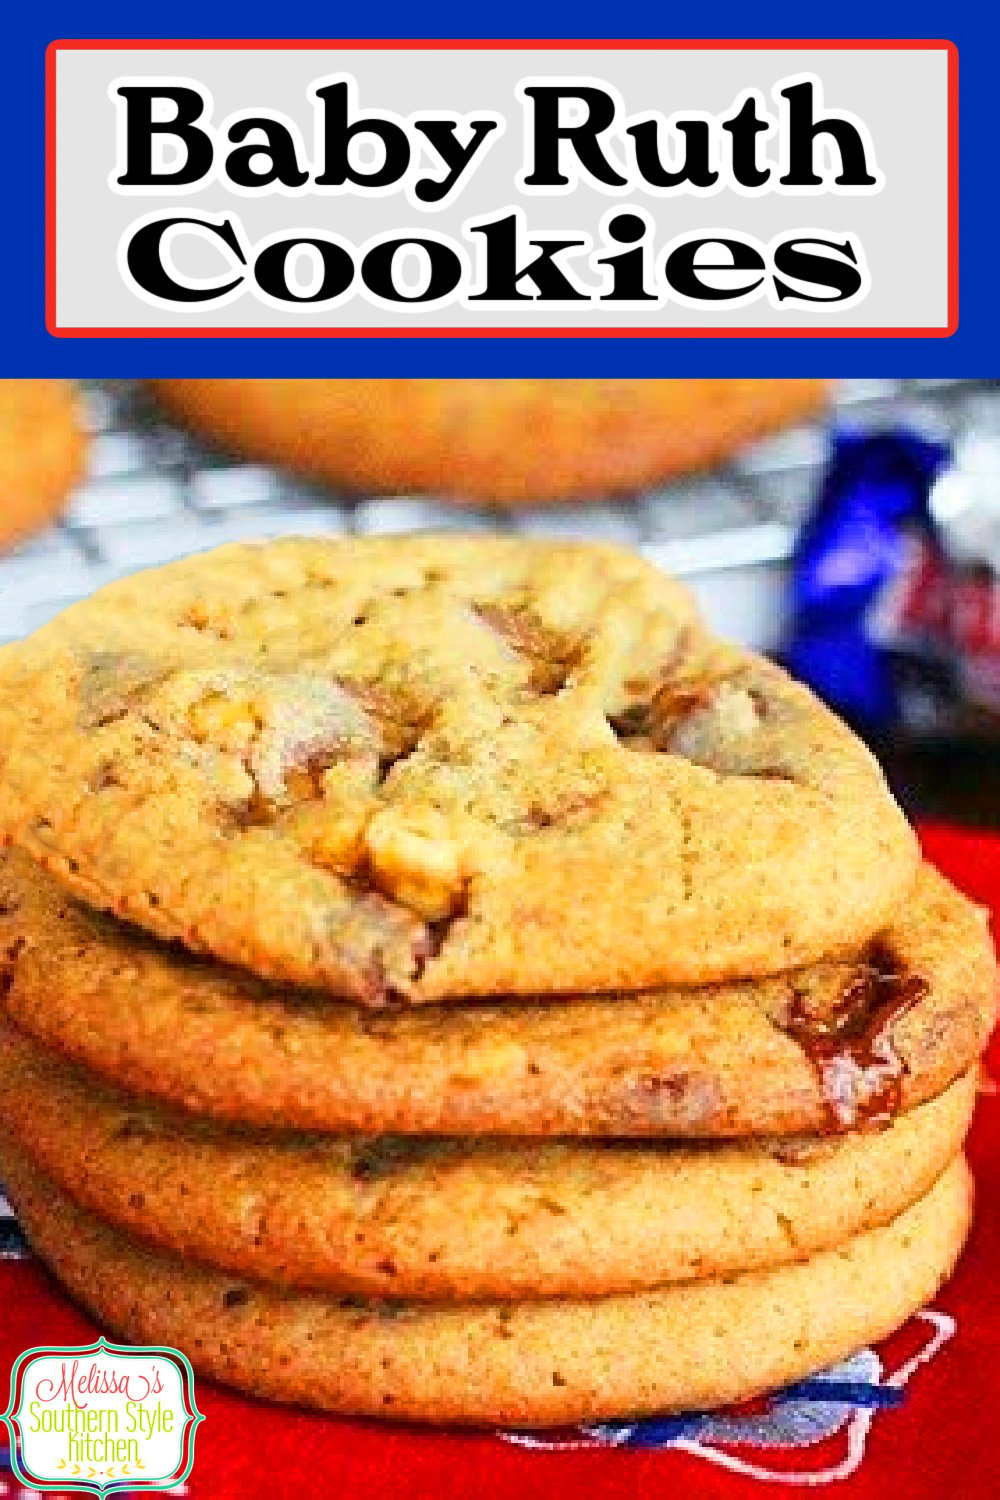
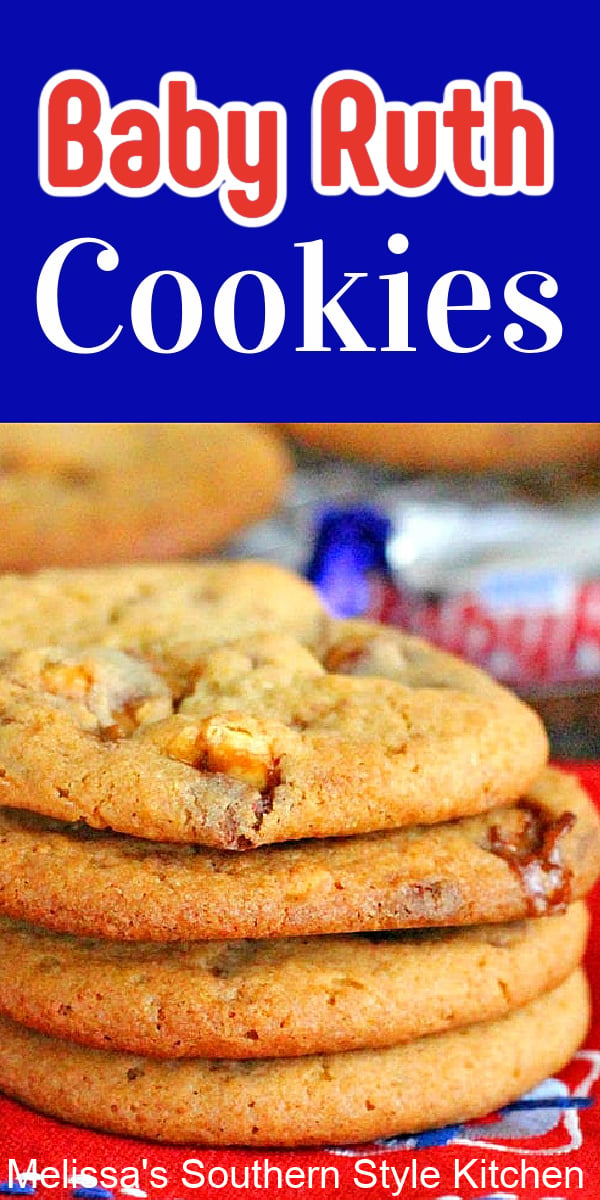
Rich and buttery Baby Ruth Cookies feature a homemade cookie dough filled with the chocolate covered nougat and peanuts found in Baby Ruth candy bars. They’re a scrumptious choice to include in weekend baking projects, served as a birthday party dessert or add to your holiday baking plans. The result is a cookie and candy bar fusion that’s worth savoring.
Easy Baby Ruth Cookies Recipe
While candy bars are perfectly delicious all on their own, it’s also fun to incorporate them into desserts. Confections like my no-bake Caramel Snickers Candy Bar Pie and sweet and salty Candy Bar Pretzel Cookies are always a happy sight. If you’re feeling creative, you may also like to try these Mock Baby Ruth Bars from Homemade Hooplah for a homemade version. How to make Baby Ruth Cookies from scratch: (Scroll down for full printable recipe.)
- Prepare pans -Preheat the oven to 350°F. Line 3 large cookie sheets with parchment paper. Set aside.
- Dry Ingredients – Use a whisk to sift together the flour, baking powder, salt and baking soda.
- Creamed Ingredients – Use an electric mixer to cream together butter, light brown sugar, granulated sugar and vanilla. Beat on medium until light and creamy.
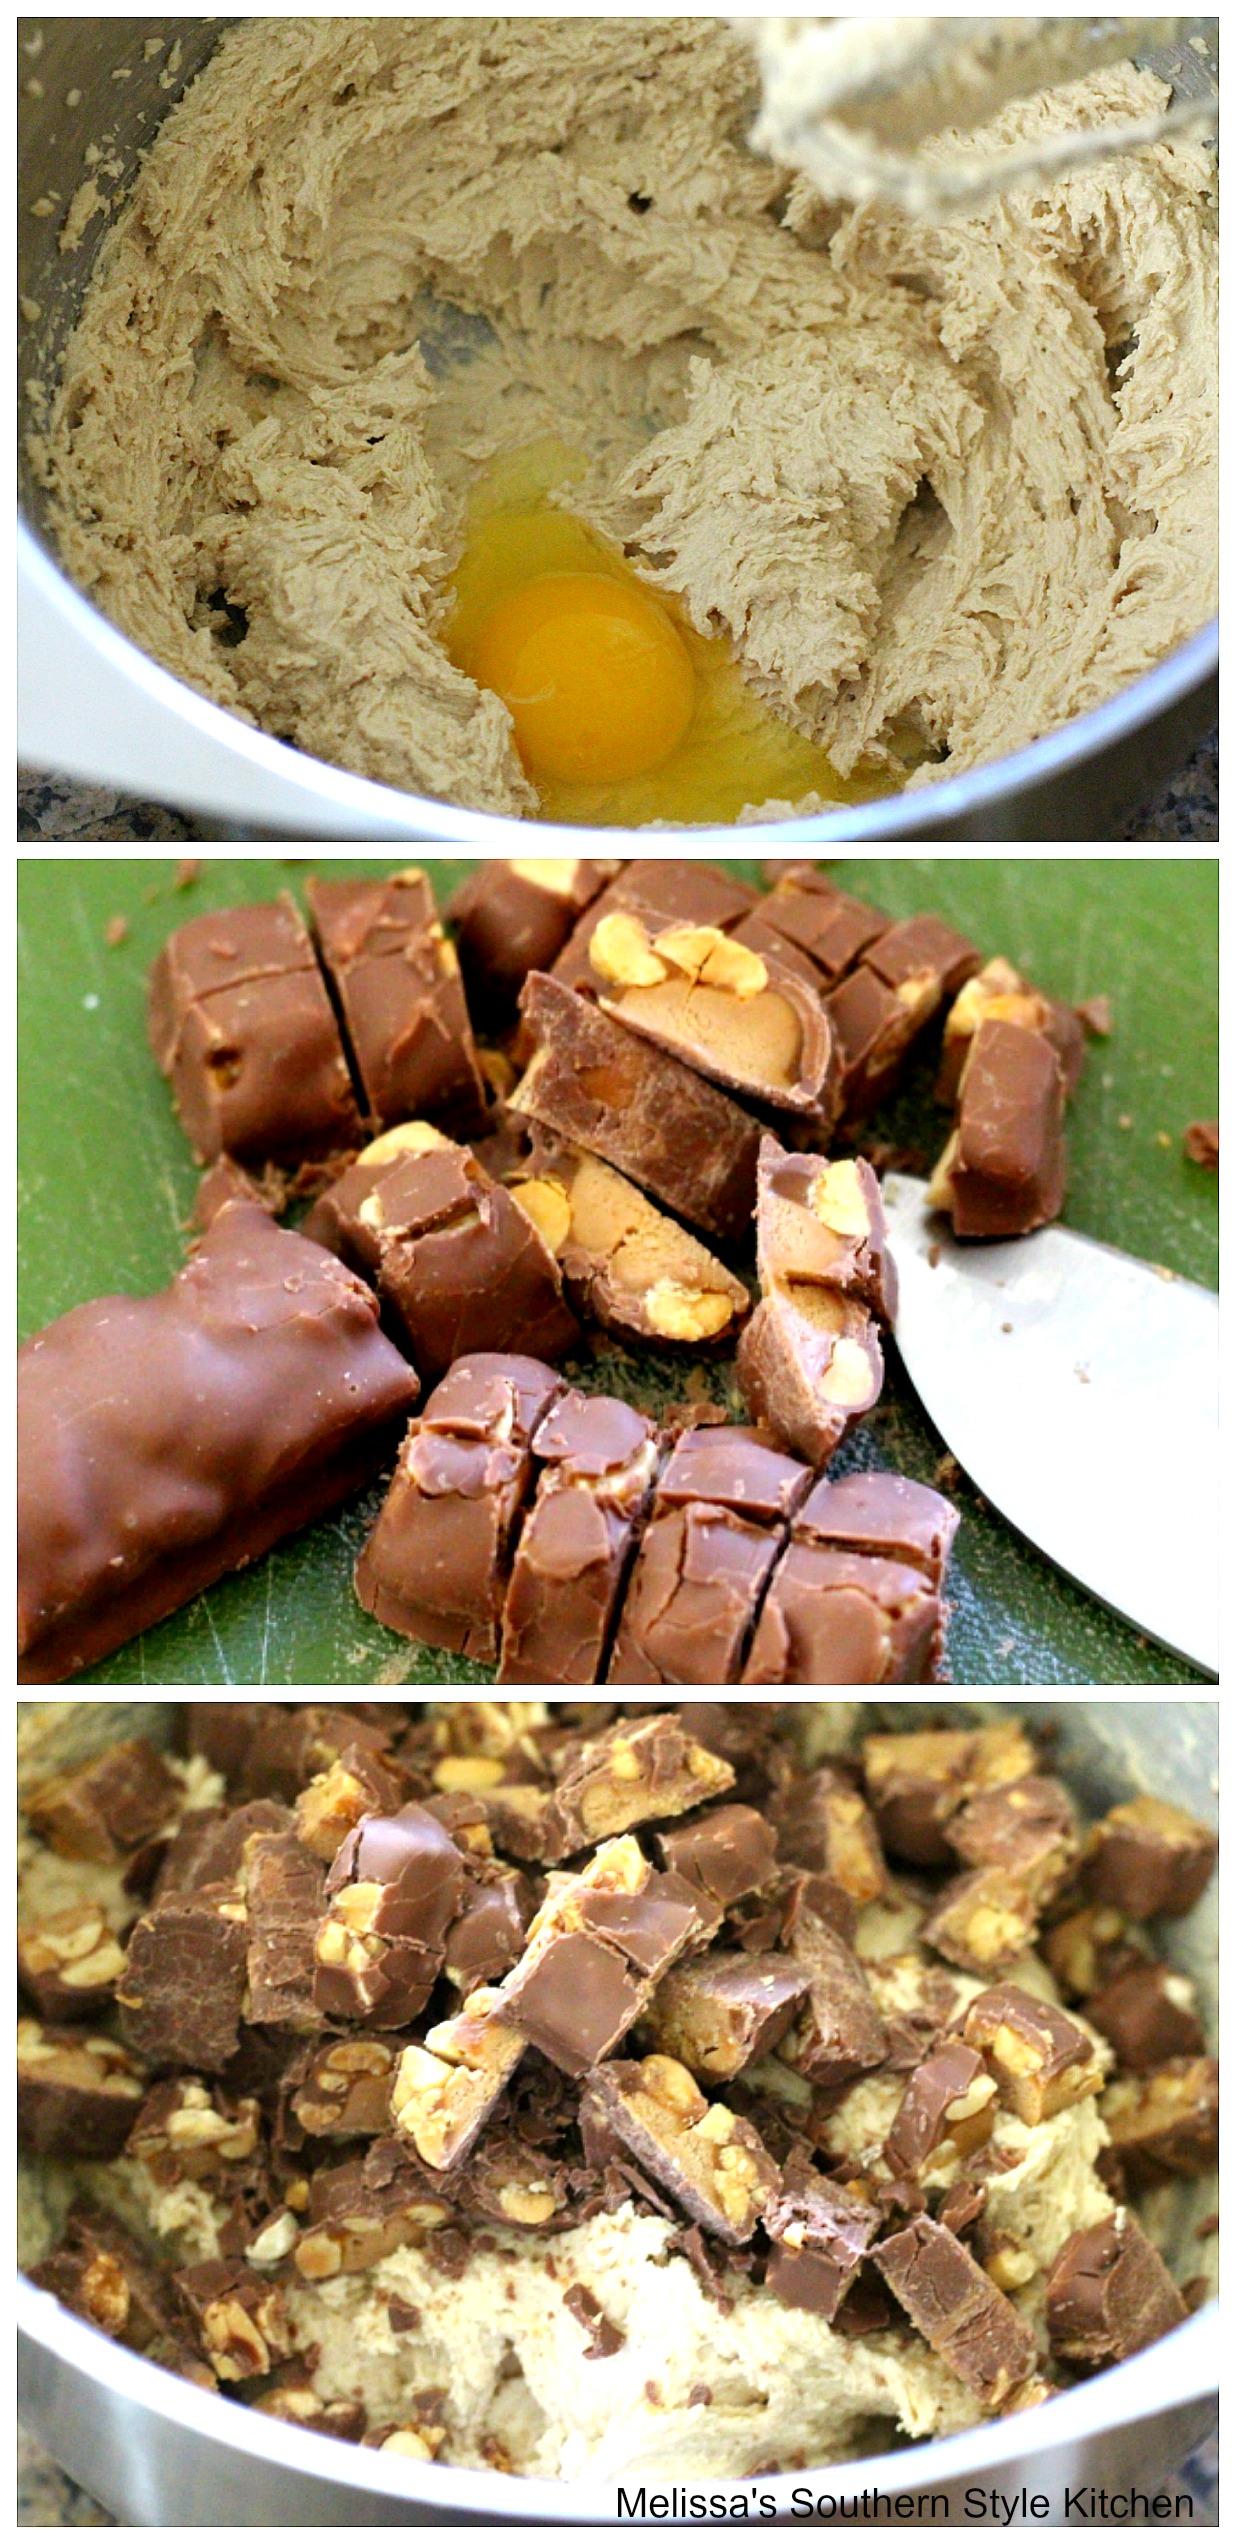
- Eggs – Add eggs one at a time beating well after each addition.
- Combine – Lower the speed of the mixer. Add sifted dry ingredients gradually, beating well after each addition. Stop and scrape the bowl periodically. The dough will be thick.
- Baby Ruth – Mix cubed candy bar into the dough by hand.
- Divide the Cookie Dough – Use a medium ice cream scoop to divide the cookie dough. Place onto the parchment paper lined sheet pan at least 2-inches apart.
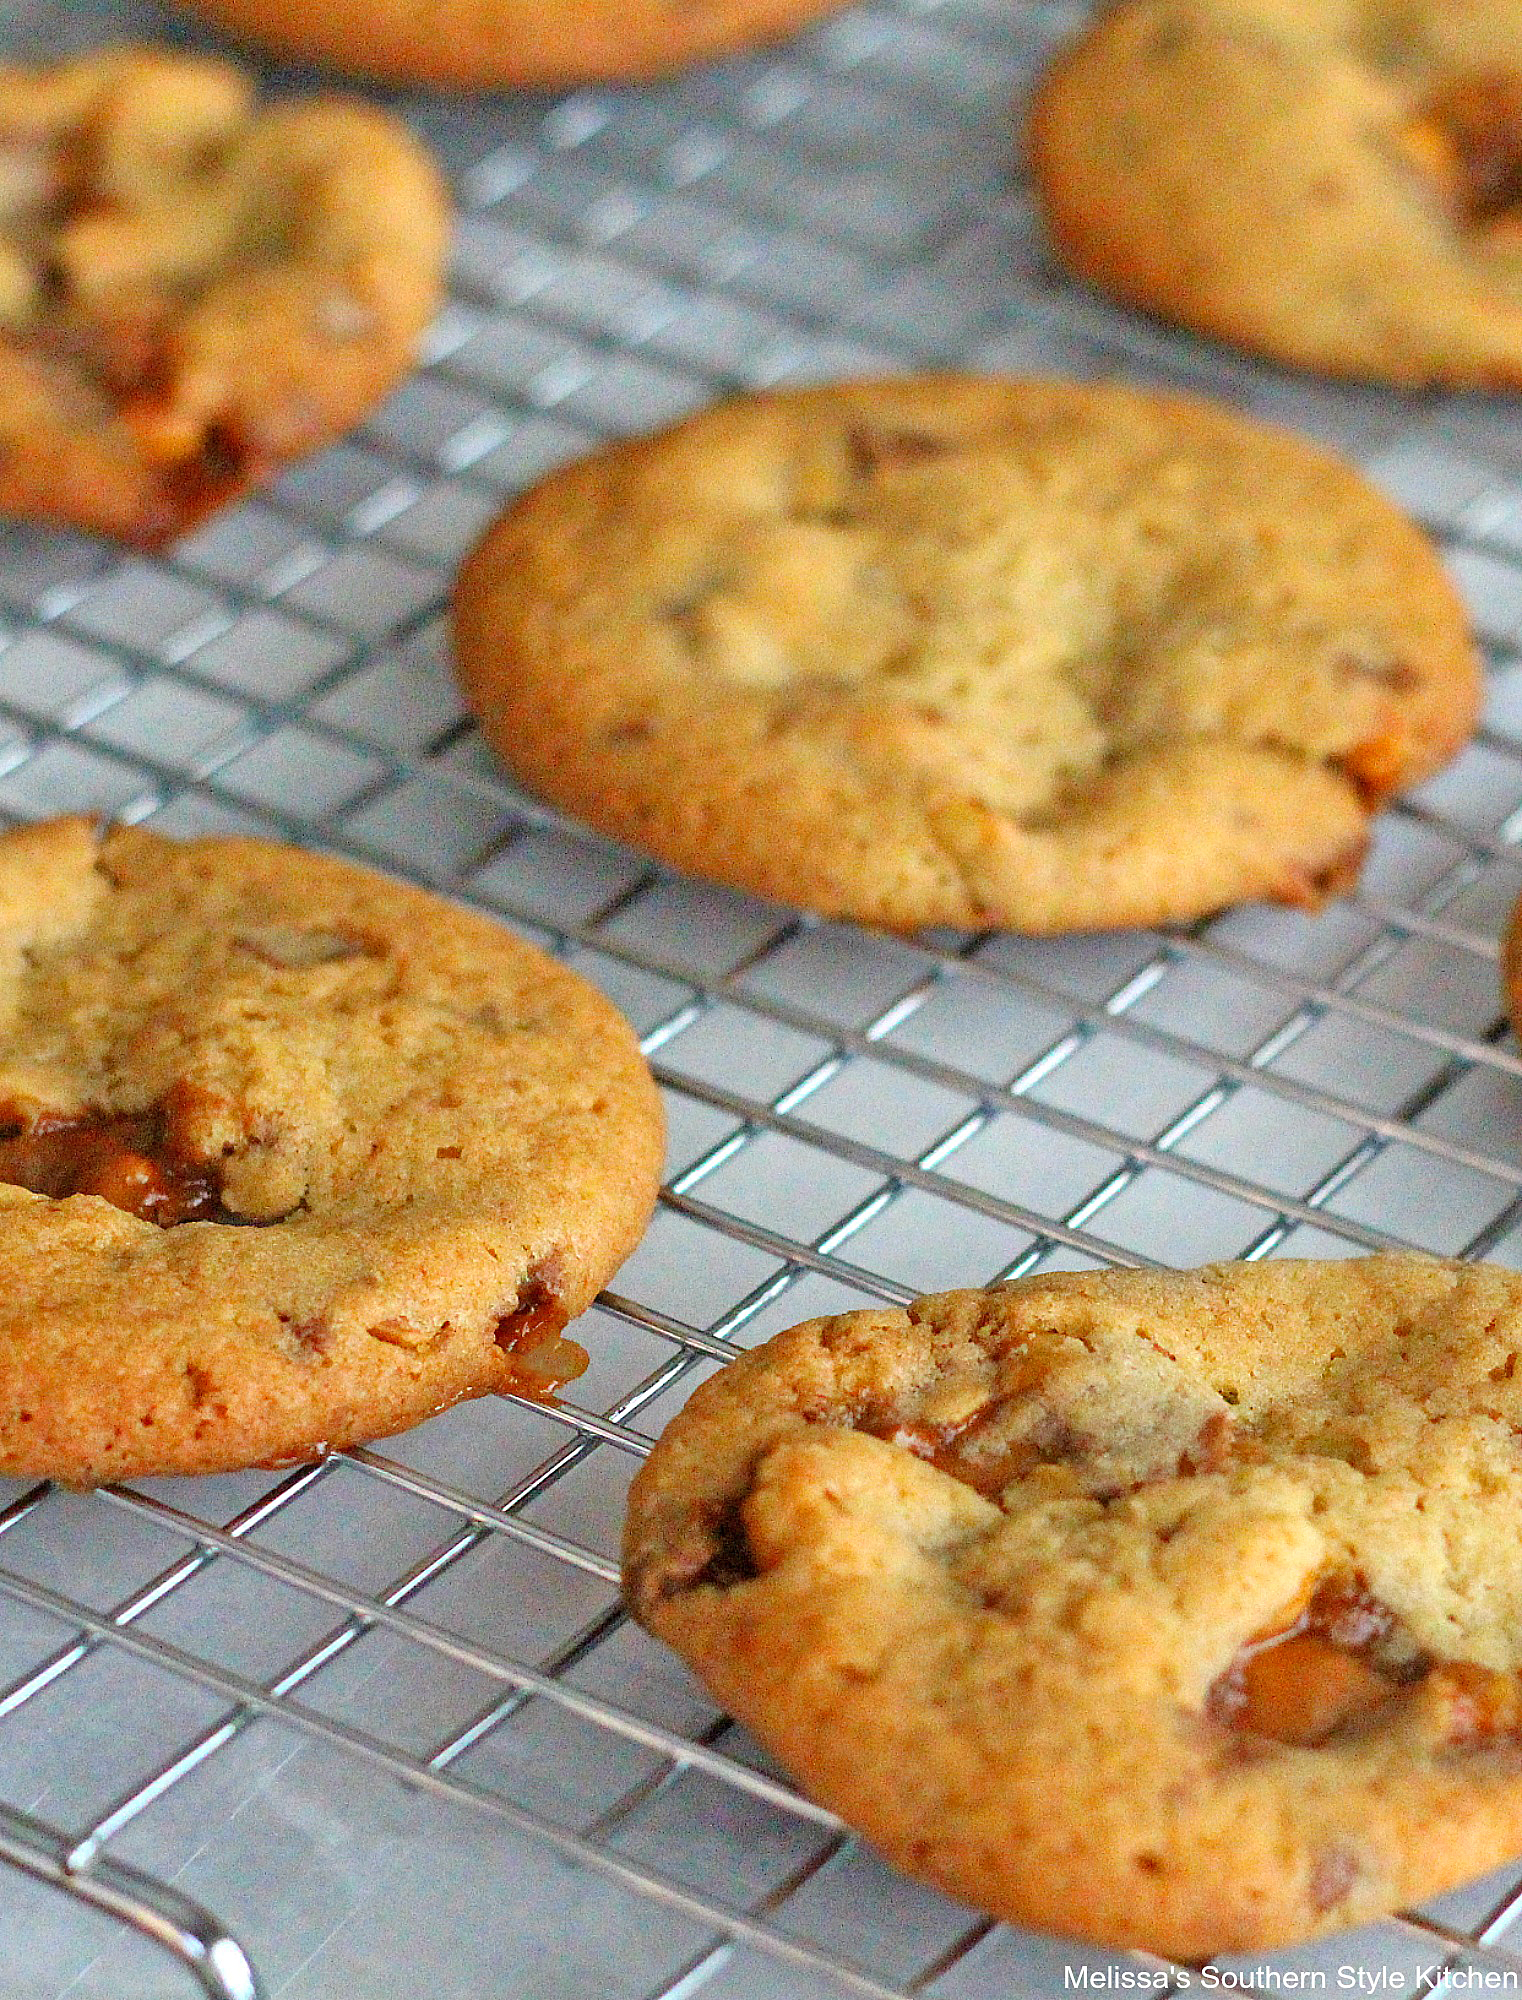
- Bake – Bake per the recipe then cool on the pan for 5 minutes, then remove to a cooling rack to cool completely.
How to Make the BEST Baby Ruth Cookies Recipe
- Ingredients you’ll need to make Baby Ruth Cookies: All-purpose flour, baking powder, salt, baking soda, salted butter, light brown sugar, granulated sugar, pure vanilla extract, large eggs and one 11.5 ounce package fun size Baby Ruth candy bars unwrapped and cubed.
- Kitchen tools you’ll need: Large bowl, medium bowl, whisk, hand mixer or stand mixer, sheet pans, medium scoop, measuring cups and spoons.
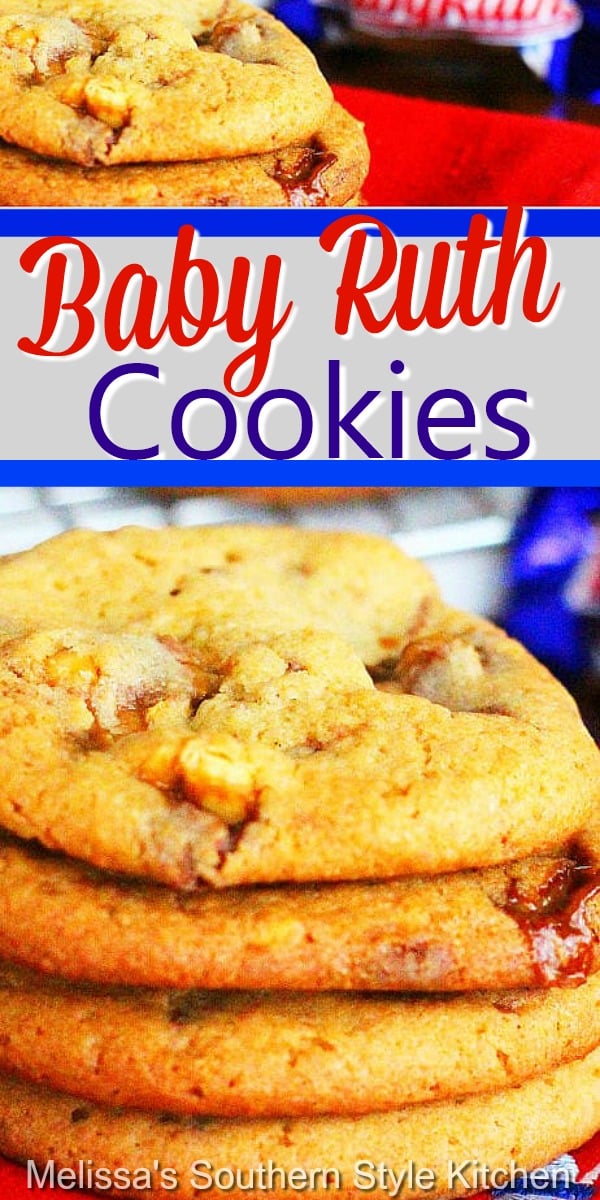
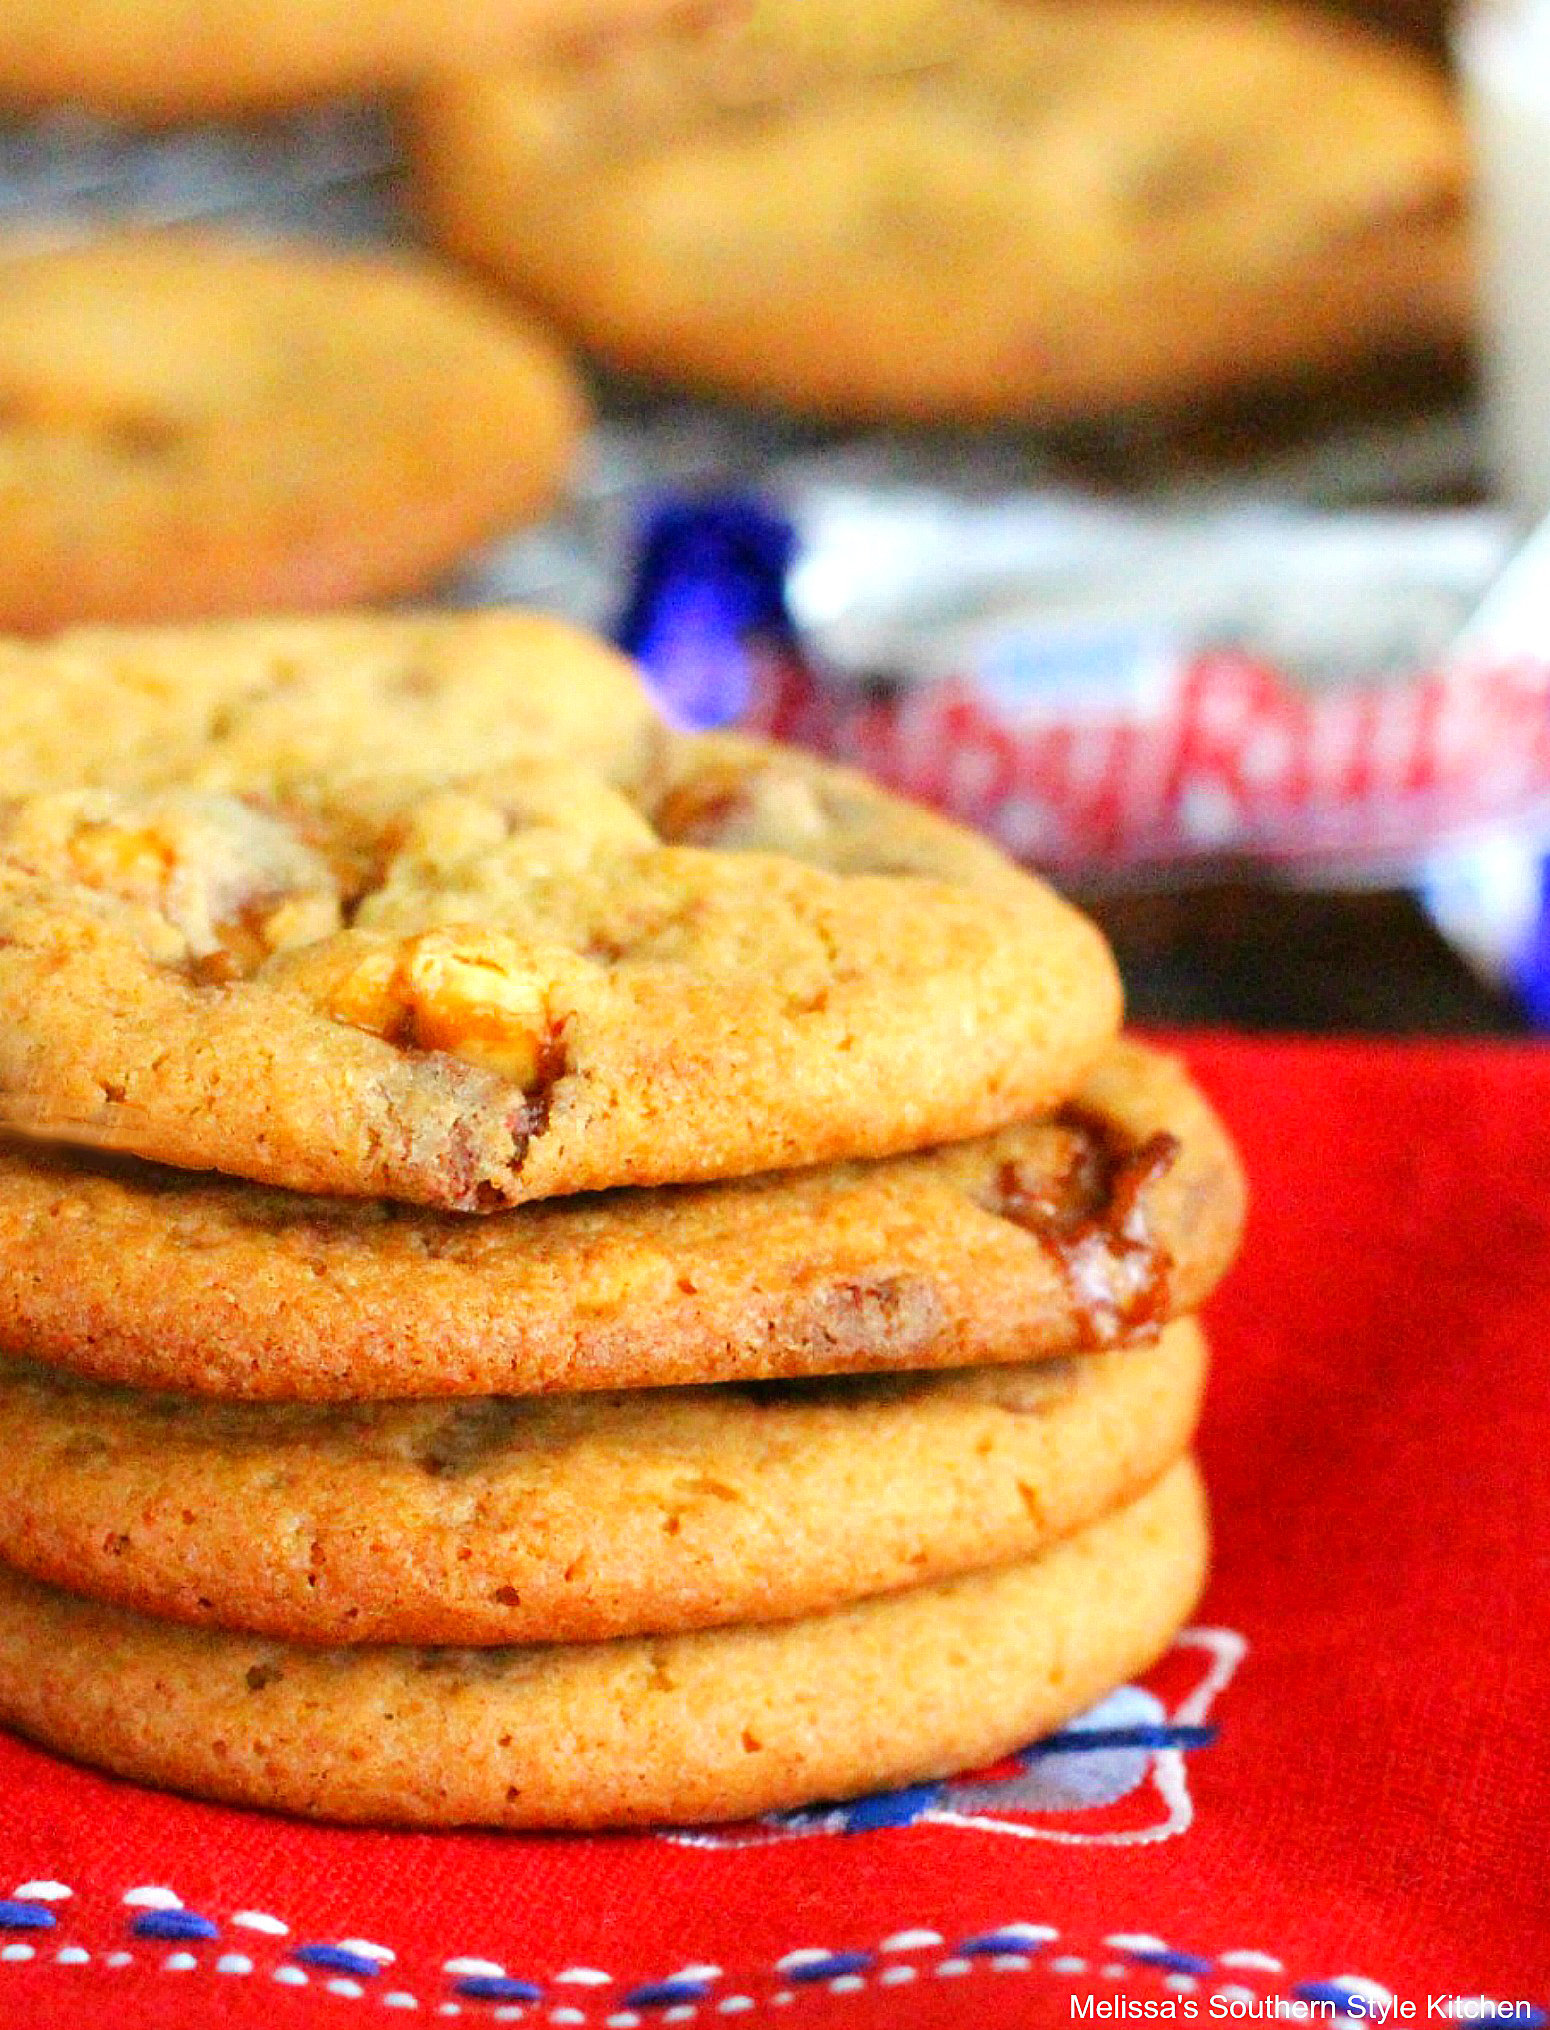
- The dough for these cookies is buttery and unapologetically sweet. Each cookie is unique, and while baking the candy bar nougat melts adding a chewy texture to the dough. The end result is a cookie that’s buttery, crisp and chewy all in the same bite.
- Homemade cookie dough is very forgiving and has the bonus of being able to be prepared in advance. When using the freshest of dairy products, this cookie dough will last chilled for up to one week in the fridge. It can be frozen for up to two months.
- It’s important to take time to evenly mix the candy bar pieces throughout the dough. This will help ensure a more uniform batch of cookies.
- The cookies will spread while baking, and it’s not unusual for some of the candy bar pieces to melt and escape along the edges. This is part of the beauty of candy bar cookies and not a sign that something went wrong.
- Depending on how you divide the dough, the baking time may need adjusting. Smaller cookies will take less time to bake. Likewise, if you choose to make larger cookies they’ll take longer. Keep and eye on them and adjust accordingly.
- When making the dough in advance, store chilled in an airtight container in the fridge. If you start with chilled cookie dough, the cookies may take longer to bake.
- Store baked Baby Ruth Cookies in an airtight container at room temperature for up to 3 days.
- You can freeze this cookie dough for up to 3 months.
More Cookie Recipes to Make
- Island inspired Key Lime Coconut White Chocolate Chip Cookies.
- Peanut Butter Cowboy Cookies are impossible to resist.
- Loaded Butterscotch Toffee Pecan Cookies are buttery and sweet.
- Molasses Cookies are a fall favorite.
- Fruit Pizza Sugar Cookies can be topped with your favorite fruit.
- Glazed Lemon Cookies have a burst of citrus in every bite.
- Almond Joy Cookies are chewy and delicious.
Thanks for visiting come back soon!
Disclosure ~ If a purchase is made using one of the affiliate links on this website we may earn a small commission at no additional cost to you. Thank you!
Helpful Kitchen Items:
Baby Ruth Cookies
Servings: 28 cookies
Calories: 188kcal
Ingredients
- 2 cups all-purpose flour, plus 2 Tbsp
- 1 tsp baking powder
- 1/2 tsp salt
- 1/2 tsp baking soda
- 1 cup salted butter softened
- 3/4 cup packed light brown sugar
- 1/2 cup granulated sugar
- 2 tsp pure vanilla extract
- 2 large eggs
- 1 11.5 oz package fun size Baby Ruth candy bars unwrapped and cubed
Instructions
- Preheat the oven to 350°F. Line 3 large cookie sheets with parchment paper. Set aside.
- In a medium bowl use a whisk to sift together the flour, baking powder, salt and baking soda.
- In a large bowl using an electric mixer cream together butter, light brown sugar, granulated sugar and vanilla. Beat on medium for 3-4 minutes or until light and creamy.
- Add eggs one at a time beating well after each addition. Stop and scrape the bowl as needed.
- Lower the speed of the mixer. Add sifted dry ingredients gradually, beating well after each addition. Stop and scrape the bowl periodically. The dough will be thick.
- Mix cubed candy into the dough by hand.
- Use a medium (1 1/2 Tbsp) ice cream scoop to divide the cookie dough. Place onto the parchment paper lined sheet pan at least 2-inches apart.
- Bake for 12-14 minutes until lightly golden.
- Cool on the pan for 5 minutes then remove to a cooling rack to cool completely.
Nutrition
Serving: 1serving | Calories: 188kcal | Carbohydrates: 24g | Protein: 2g | Fat: 10g | Saturated Fat: 6g | Polyunsaturated Fat: 1g | Monounsaturated Fat: 2g | Trans Fat: 1g | Cholesterol: 31mg | Sodium: 153mg | Potassium: 39mg | Fiber: 1g | Sugar: 10g | Vitamin A: 222IU | Calcium: 16mg | Iron: 1mg
Tried this recipe?Mention @melissassk or tag #melissassk!
Love the recipes! Love the sweets and salty desserts,too ! You are the Best….
My favorite, thank you!
Thank you Linda! It’s much thanks to Blogaholic Designs, Emily is amazing! Still working on updates. ☺
Love the new blog look! Congrats on having the stamina it must have taken to create such a beauty:)
Ha – stay tuned you should see what’s cooling on my counter. ☺
You’re killin’ me here Melissa. What a fabulous recipe, all my favorites once again. Can’t wait to see what’s next!